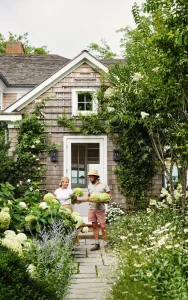
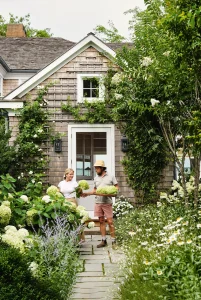
How to Design a Hamptons Style Garden Unique to Your Tastes
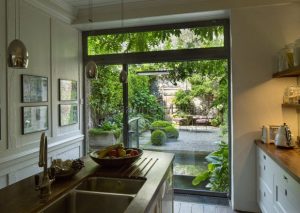
Is there anything better than having a garden that makes you feel like you’re always on holiday? Now we can’t bring the ocean and time off work of the Hamptons to you, but we can help you create a garden that is luxurious, classy and beautiful.


The Hamptons style has been popular for a long time, and we find that almost every second garden design is asking how to do a Hamptons style garden, but with a little twist. Maybe it’s a Japanese element, or a Cottage leaning angle.
First, we’re going to define what the Hamptons style is. Then we’re going to chat about how you can make the style uniquely yours so that you stand out from the other Hamptons Style Gardens.
Here’s what we will be covering in this article:
THE ESSENTIALS
THE BEST PLANTS TO USE:
– Flowering Plants
– Trees
– Hedges
HOW TO ADD A TWIST:
– Hamptons with a Cottage Twist
– Hamptons with Australian Native Plants
– Hamptons with a Japanese Style
TIME TO MAKE YOUR HAMPTONS GARDEN
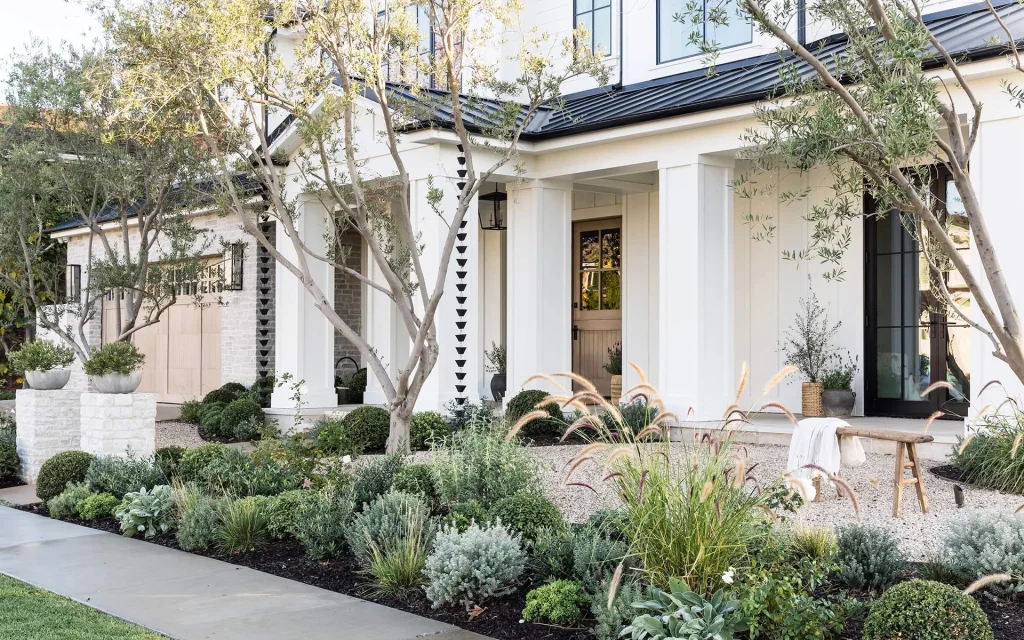
The Essentials of the Hamptons Style
 Let’s start with breaking down the essential elements. It’s important that you have a set parameter to work within, or you’ll risk having a hodge podge of random things thrown together.
Chris actually likes to define Hamptons as a “Cottage Garden but with a specific colour palette.” Whereas a Cottage Garden gives you the freedom to mix and match as many different colour plants as you choose, you want to stick to certain shades when it comes to a Hamptons style.
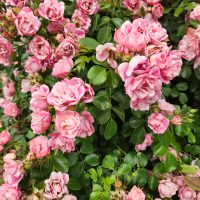
 The colours at your disposal are white, pink, mauve, blue or purple. And of course green for the foliage of the plants, or even green-silver.
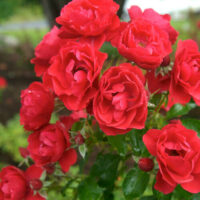
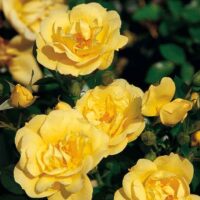
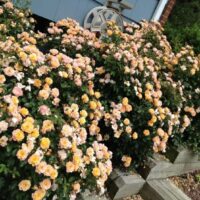
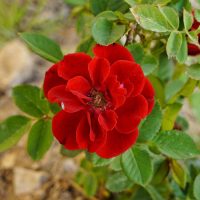
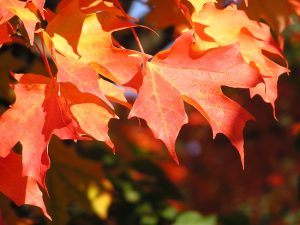
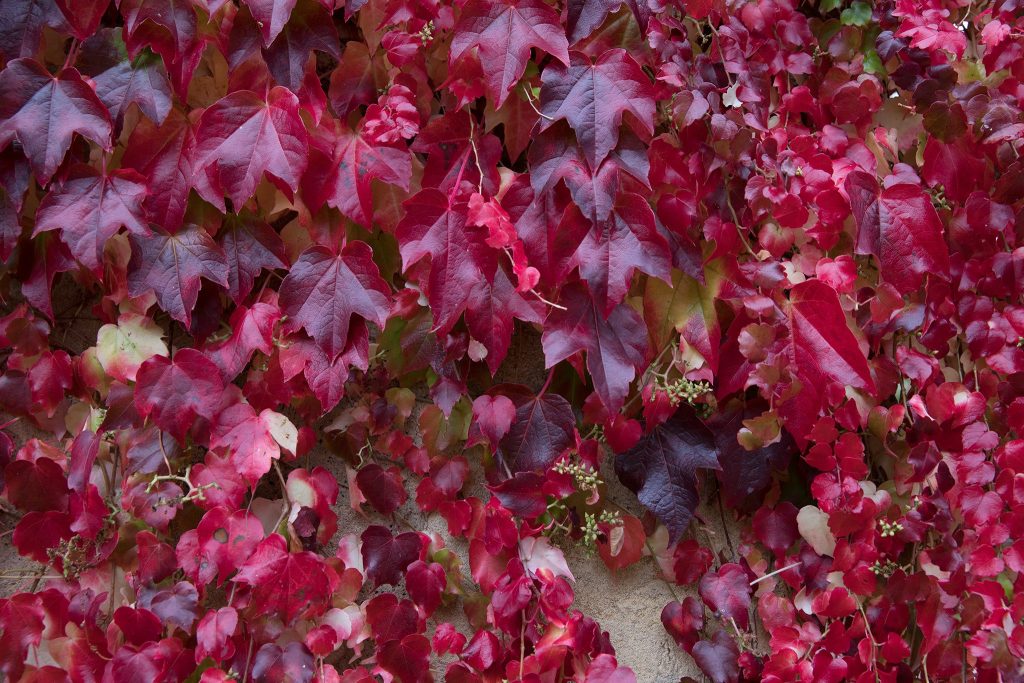
What you don’t want is any plant that has shades of yellow, red, or orange, whether that be in the foliage or from the flowers.
You’ll probably have already noticed but we’ll just point it out that essentially the colour palette is quite cool tones.
That doesn’t mean a warm-ish colour like magenta can’t ever find it’s way into a Hamptons garden, but you just want to make sure to use it sparingly and always strive for more cooler shades.
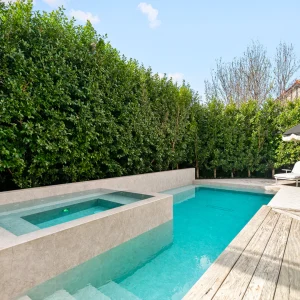
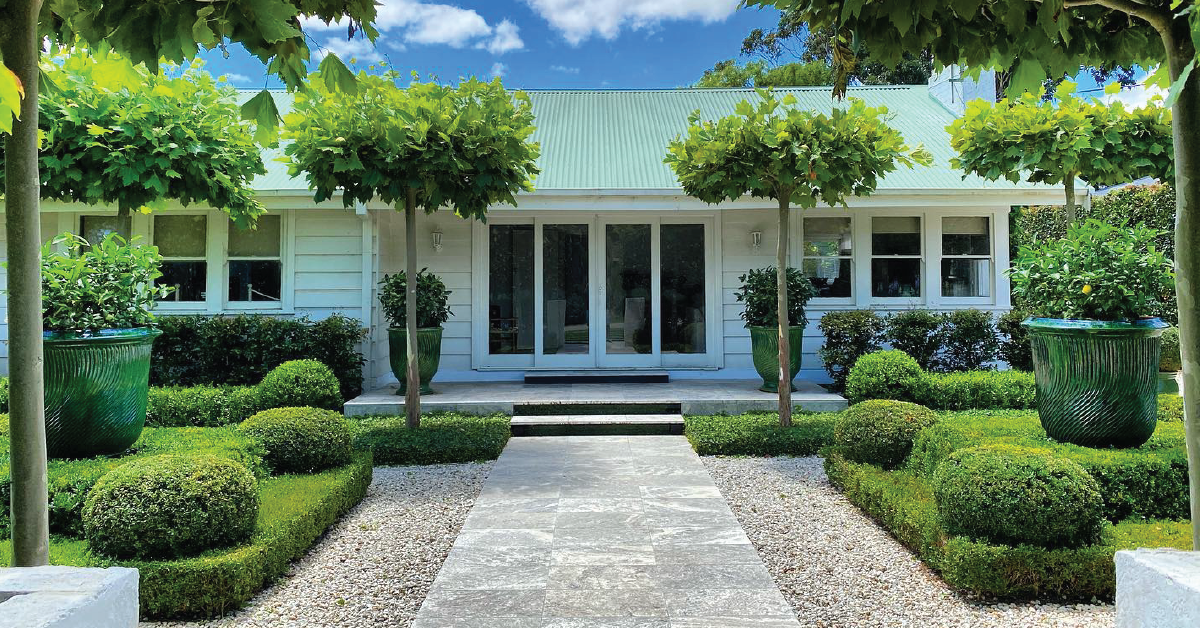
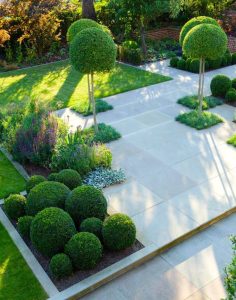
Now the secret to a Hamptons Style is finding the perfect balance between formality and looseness.
Lean too much towards formality and you lose the relaxed laid back quintessential vibe of the Hamptons. Err too much towards looseness and you abandon the sophistication and classiness.
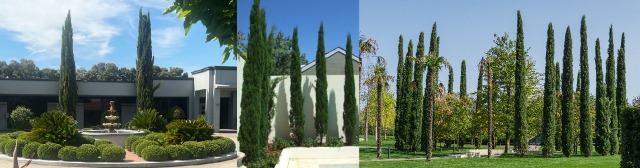
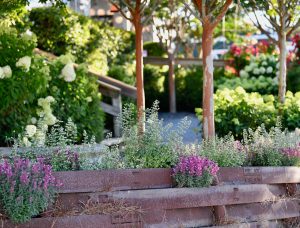
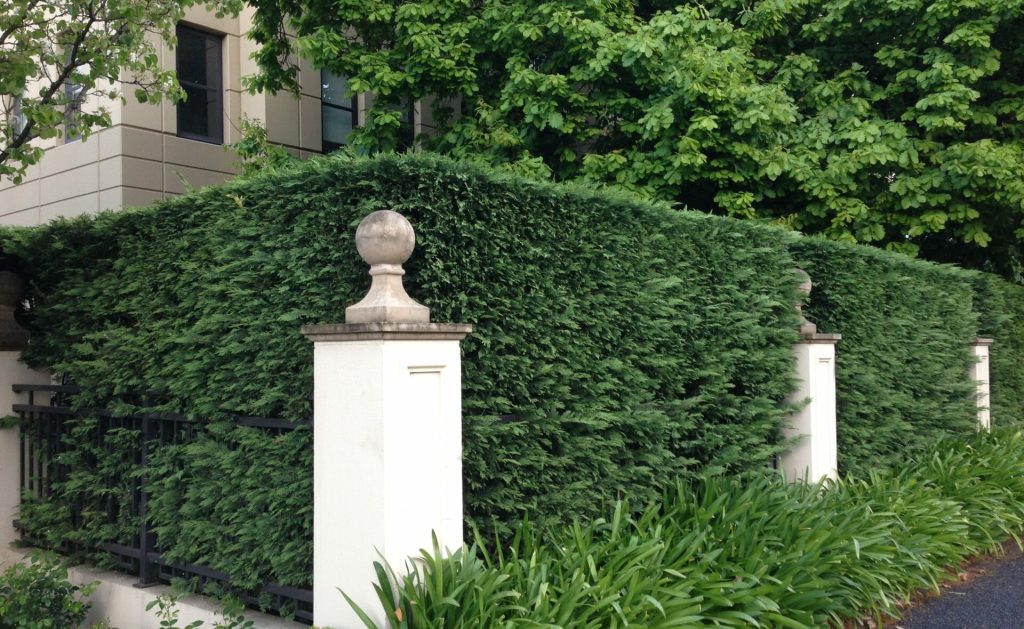
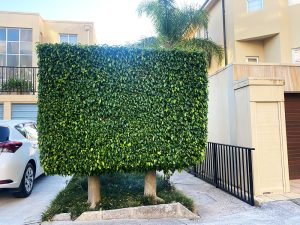
To strike this perfect balance you want to bring the structure and symmetry by using hedges, topiaries and standard plants.
Then you add the soft romantic touches with your other plants like flowers, border plants, trees, shrubs, ground covers and climbers. You want to make it flowy and wild (but not too wild).
In every Hamptons Style Garden there is an interplay between structure and softness.
The Best Plants for the Hamptons Style
So you’ve got the basic elements down, what are the plants that are best suited? We’ll start with flowering plants.
Flowering Plants:
Nepeta ‘Catmint’

With the most gorgeous delicate purple flowers, Catmint is a no brainer when it comes to picking flowers. The foliage is also a perfect grey-green. Catmint is actually a herb, with a nice fresh scent.
Those gorgeous flowers will come about in summer and autumn, with the nice foliage filling your garden the rest of the time.
You could use Catmint for edging or large spaces you want to fill with a mass planting. They are so easy to grow so you don’t have to worry about spending a lot of time taking care of it.
If you are in a hot and dry area, you definitely want to be going with Catmint as they are excellent for those conditions.
Agastache ‘Sweet Lili’
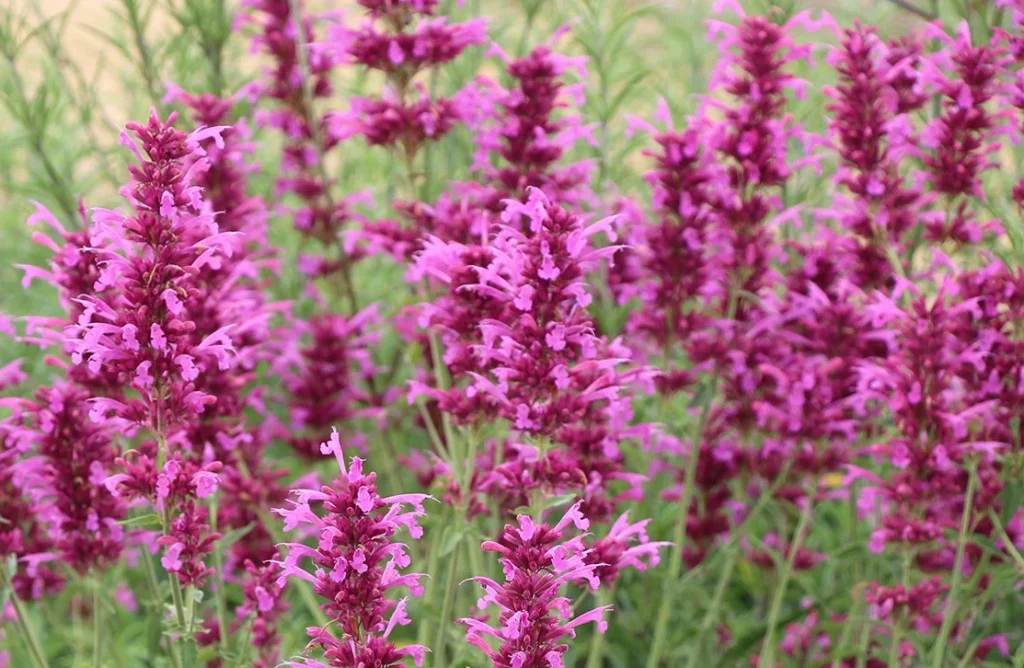
With larger bottlebrush flowers and a more pink-purple colour, Sweet Lili is another great option. They flower from end of December through to autumn, giving you colour for a long time.
They are fantastic for the hot summer conditions and are a resilient perennial that are drought tolerant once established.
Make sure to plant in full sun with well drained soil. If you want to prolong the flowering, deadhead regularly.
You can even eat the foliage! It is anise-scented and can be used in salads and teas, or you can just use it in the kitchen as a pretty flower arrangement.
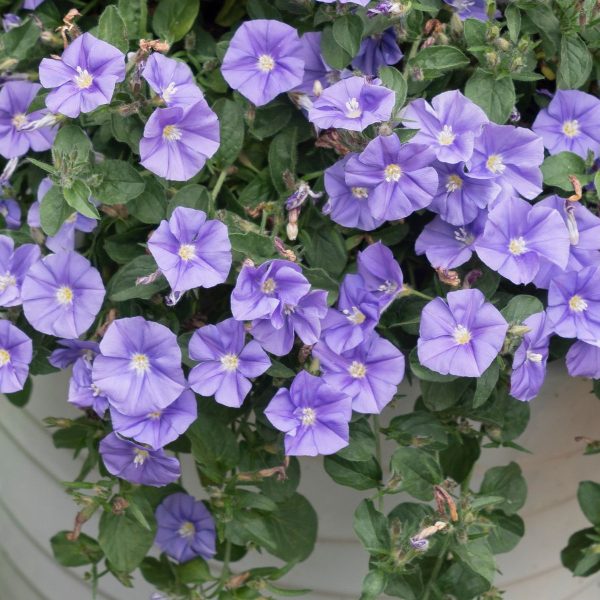
Convolvulus ‘Blue’

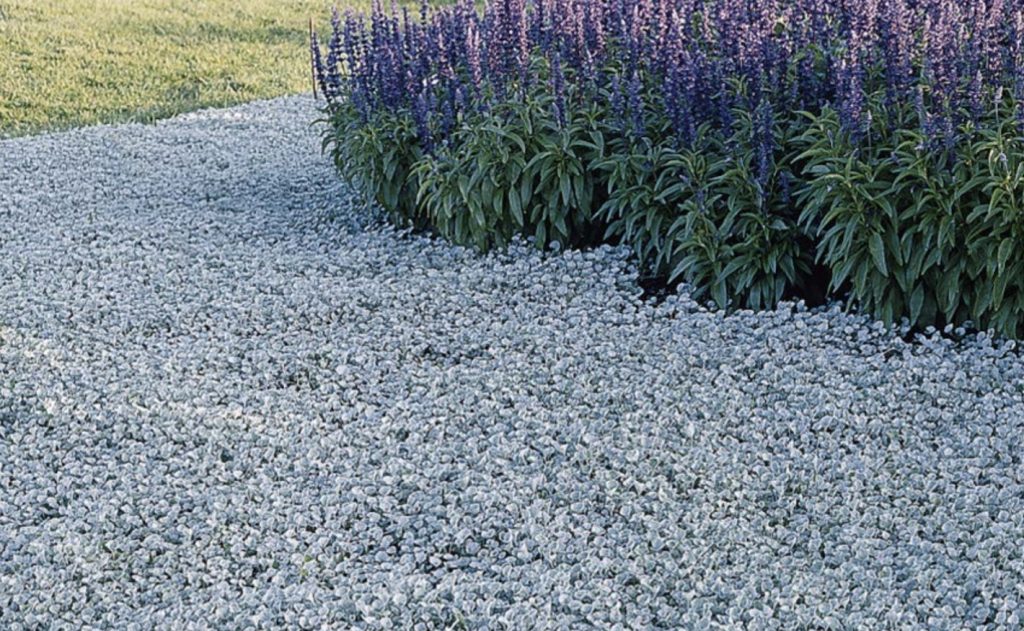
Convolvulus ‘Blue’ is an excellent ground cover that is not only low maintenance, but also very long flowering. You can put this in a large space that needs covering or plant it by an embankment and let it spill over and down.
The flowers are a vivid purple-blue that absolutely cover the entire plant. But even when the flowers are gone, the foliage by itself looks wonderful.
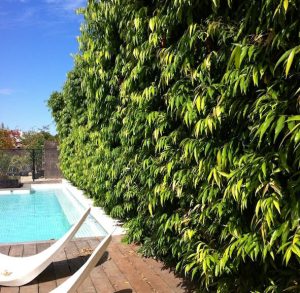
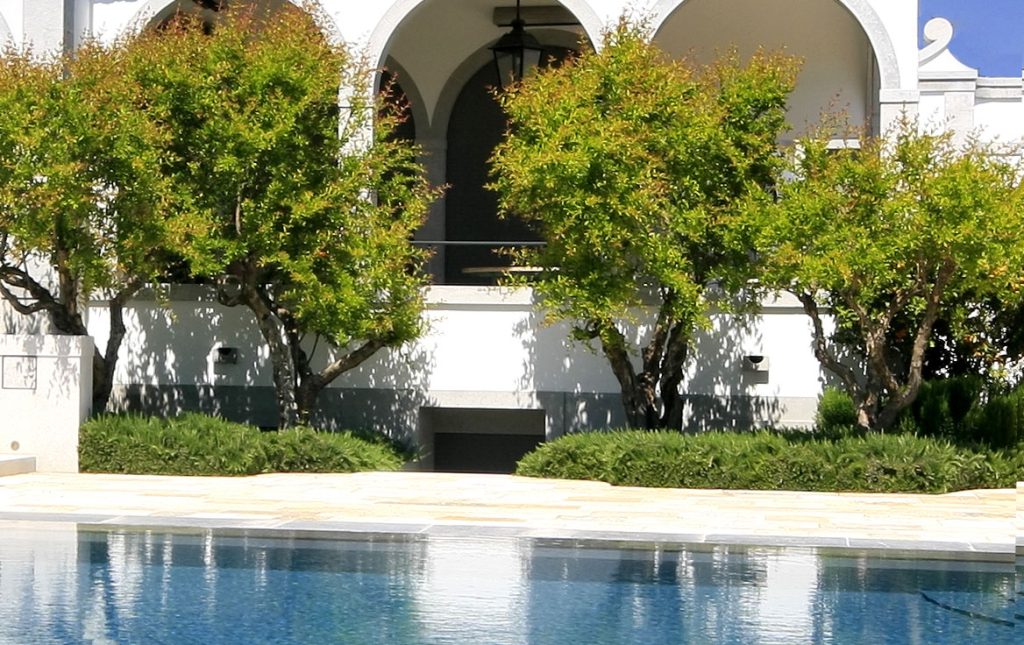
You can also use it to fill spaces between shrubs and larger perennials or even by the poolside.
Salvia ‘Mexican Bush Sage’

Now here’s a plant that’s really going to add that looseness your Hamptons Garden needs. This is an evergreen shrub that flowers for a long period, from winter until end of spring.
You can choose between purple or white flowers (both fit the Hamptons colour brief!)
Mexican Bush Sage is great as a flowering hedge or a medium sized border plant. They are very easy to grow and can handle moderately dry conditions.
Make sure to plant it in a sunny spot, as it will only handle small periods of shade throughout the day.
Lavandula ‘Hidcote’ Dwarf Lavender
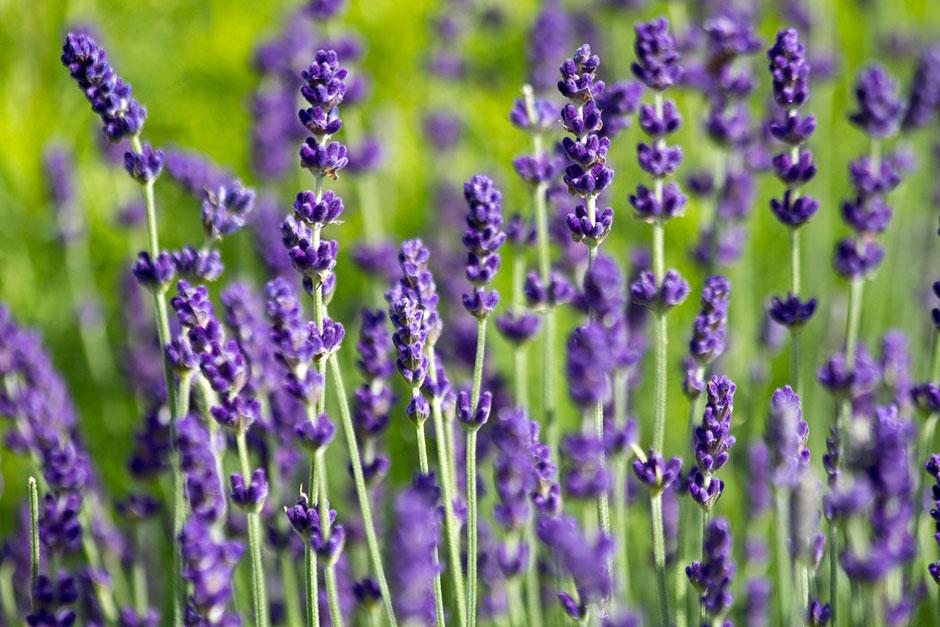
This is a dwarf bush with striking silver-green foliage and purple-blue flowers throughout spring and summer. Of course, it also smells incredible.
Hidcote is a hardy plant that does well in hot dry conditions, and to get the best flowering make sure to plant in full sun with free-draining soil. It doesn’t grow as tall as some of the other varieties.
This is great to plant as a hedge or in a pot and its perfect for creating a romantic vibe in the garden.
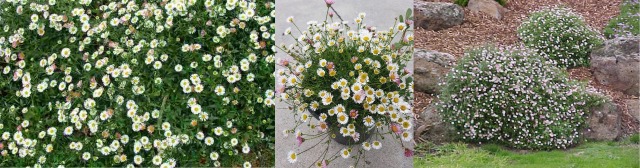
Leucanthemum ‘Shasta Daisy’ Shaggy
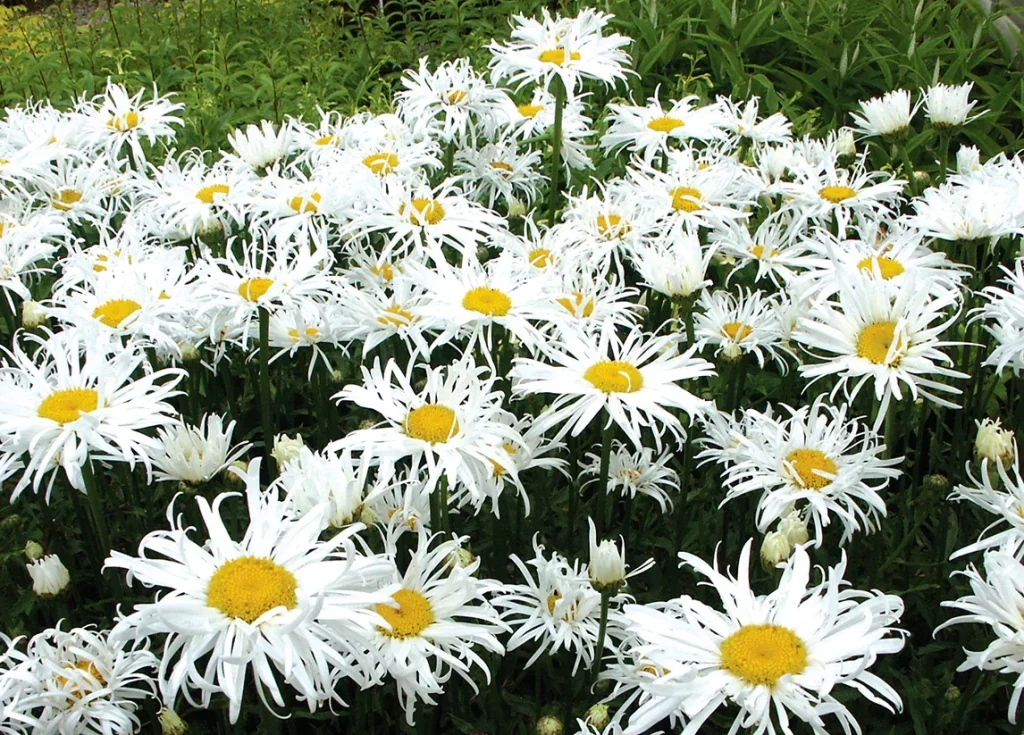
Those shaggy flowers really bring the wild looseness to your Hamptons Style Garden, but if you want flowers that are just a bit more formal looking you can always go for the regular Shasta Daisy.
It’s quite an unusual daisy with its ruffled petals, but we love how it’s something a bit different from normal daisies.
They have white flowers with yellow centres (don’t worry this yellow is fine in such a small dose) and green compact foliage.
Shasta Daisy can handle almost any soil and should be planted in a full sun position. Once established they are frost hardy.
This would be a perfect border plant amongst some of your other purple and blue flowers.
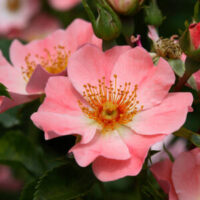
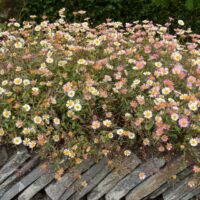
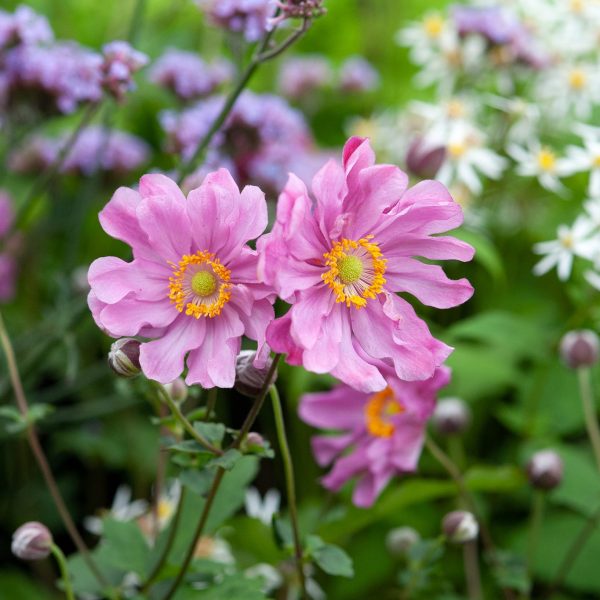
Japanese Anemone
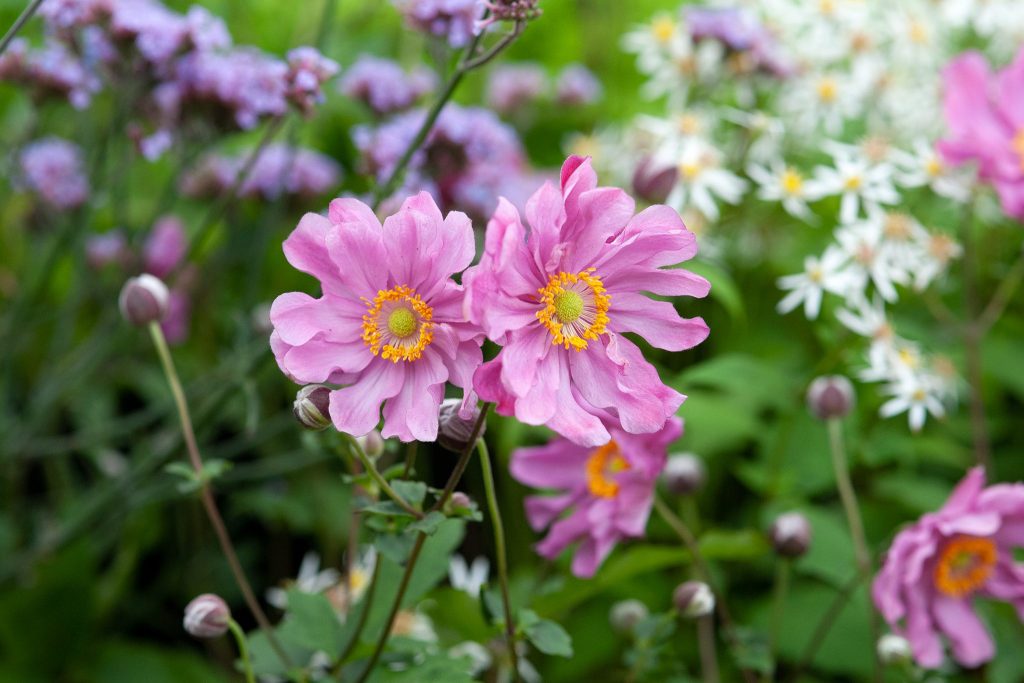
The Japanese Anemone is a flowering perennial with elegant pink flowers that rise up quite tall from the foliage. They are resistant to most insects and diseases.
Now you don’t have to plant these in full sun, and they actually prefer partial shade.
They are great for a border or planted anywhere you want a pop of colour.
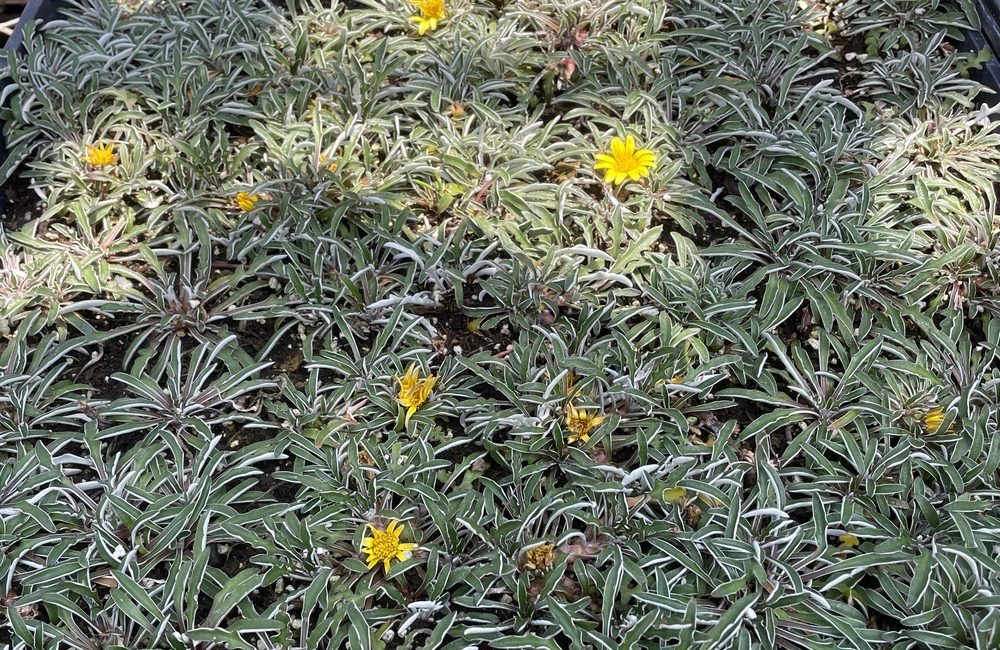
Arenaria ‘Mountain Sandwort’

Here is a low growing evergreen perennial that flowers from late spring through to early winter, so you can enjoy flowers even in the colder times.
They are great for rockers and filling gaps in the garden and form compact small mounds.
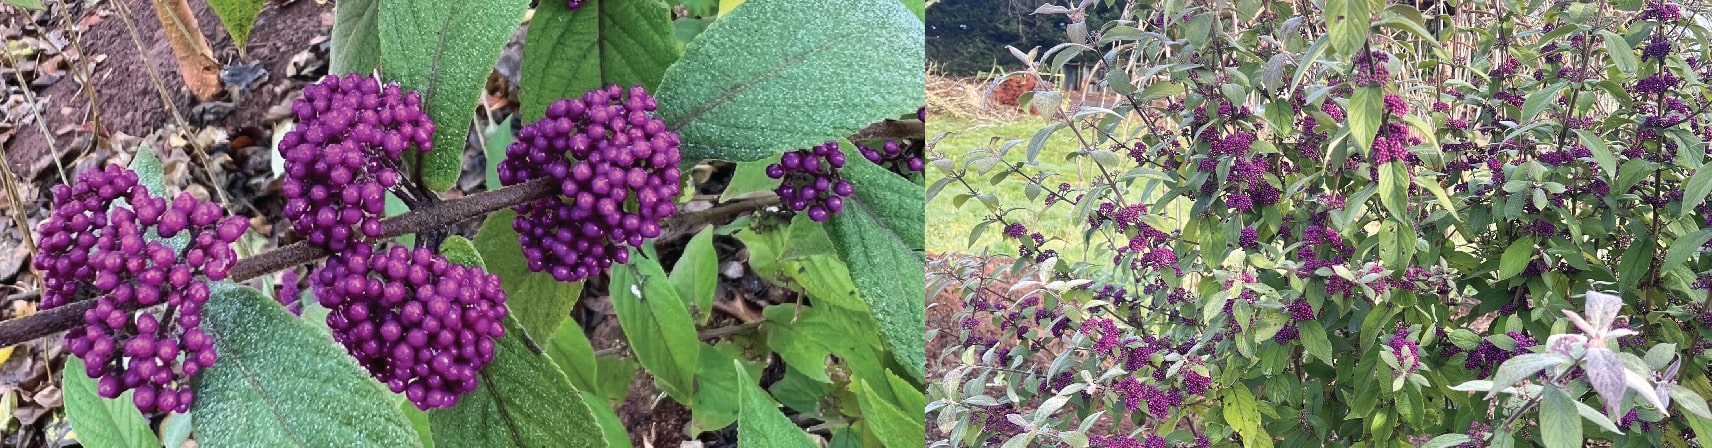
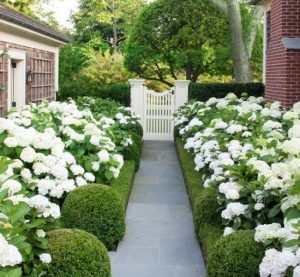
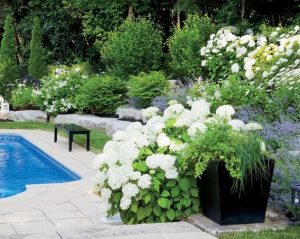
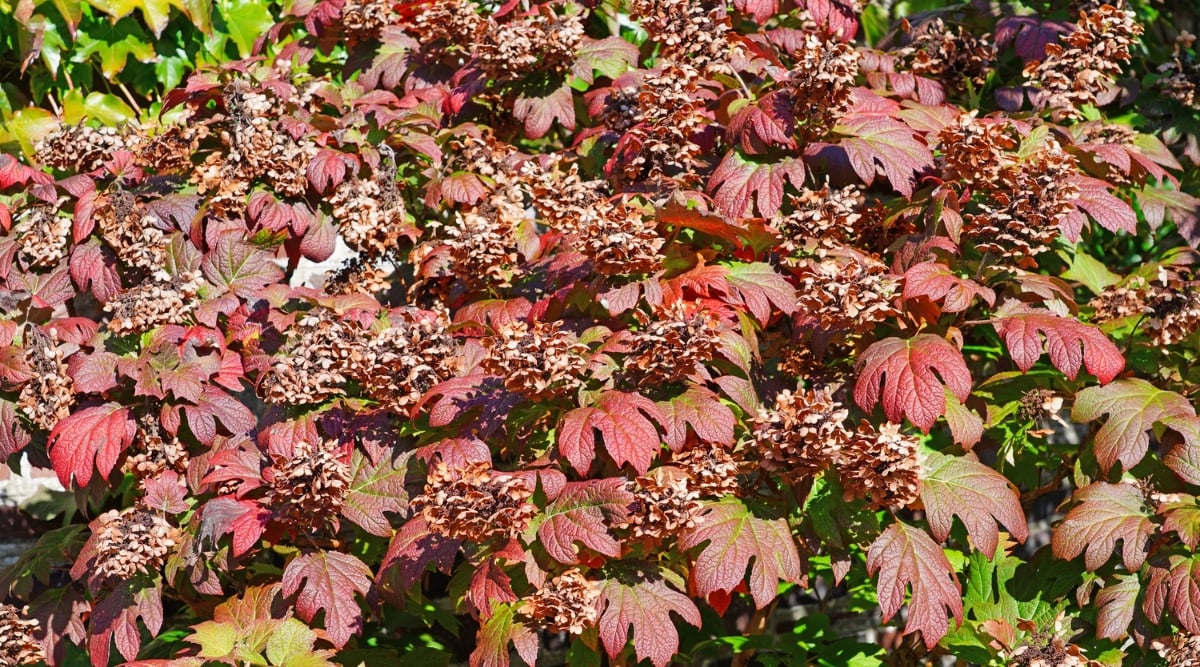
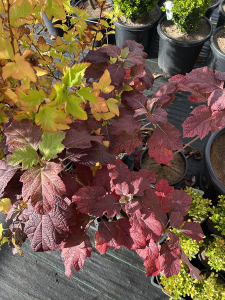
Hydrangeas
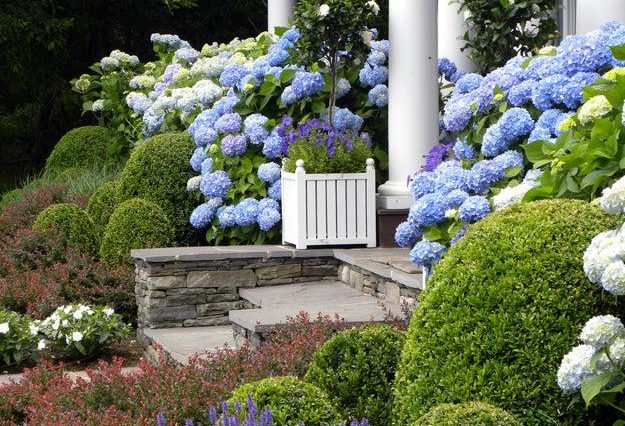
We couldn’t write an article about the Hamptons style without talking about Hydrangeas – they are practically THE Hamptons flower.
If you have a sunny spot you want to plant a Hydrangea paniculata, if it’s a shady spot you want to use a Hydrangea macrophylla. We aren’t going to go too much into Hydrangeas here because we already have a very in depth article all about Hydrangeas which you can read here.
So there’s a huge selection of flowering plants, let’s move onto trees now.
Trees:
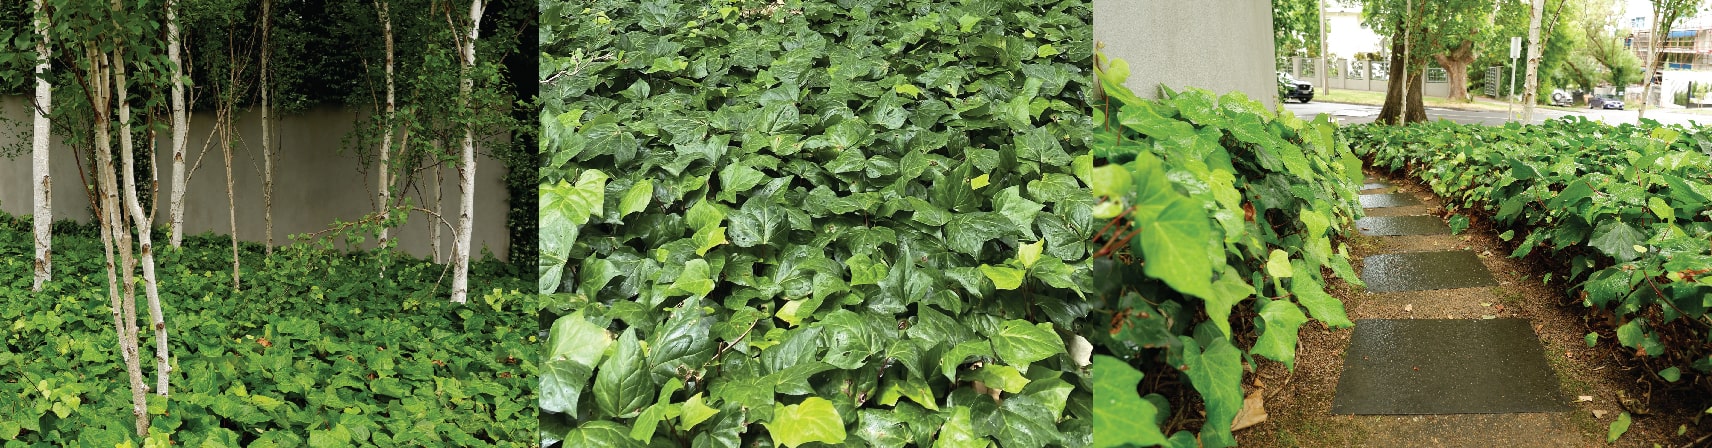
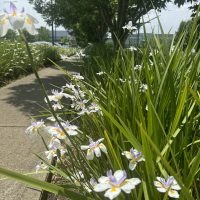
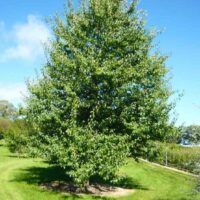
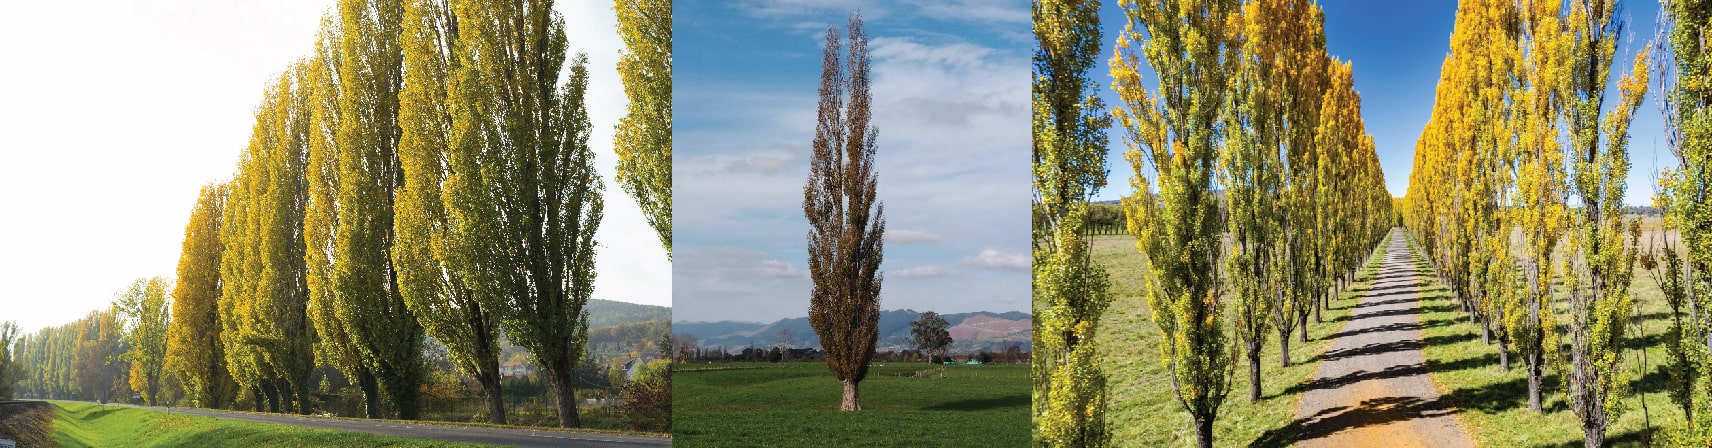
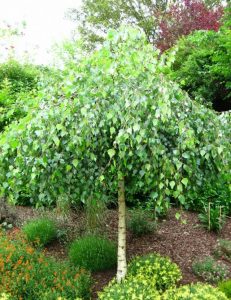
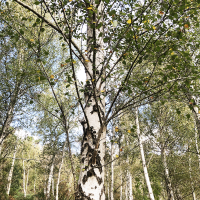
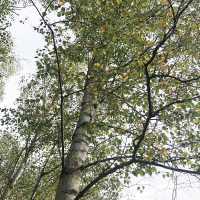
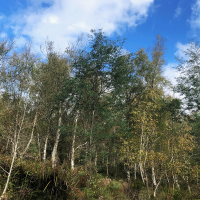
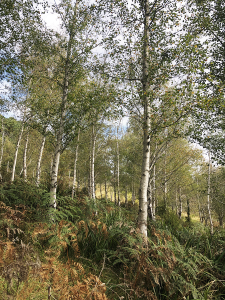
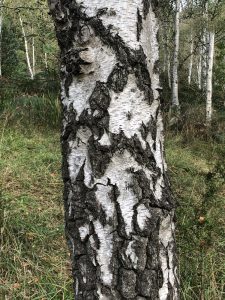
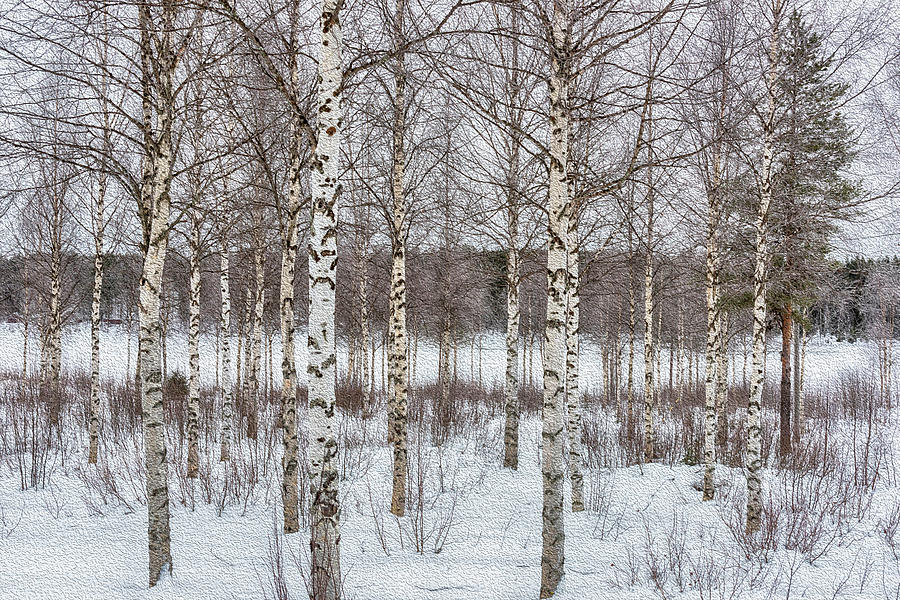
Betula ‘Moss White’ Silver Birch
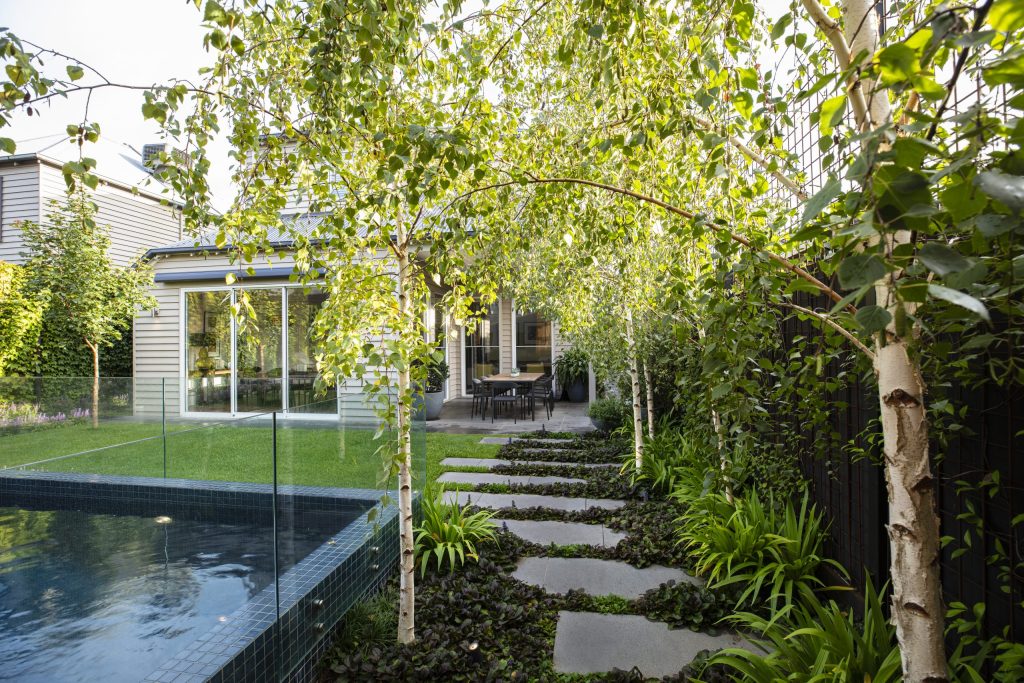
Silver Birch will always be a classic and we particularly love Moss White for its striking white bark and foliage that turns a vivid yellow in autumn.
This is a deciduous tree that looks incredible even in winter, because you get a full view of that distinctive bark.
Moss White Birches are best in a position of full sunlight to partial shade and look fantastic when planted in groups.
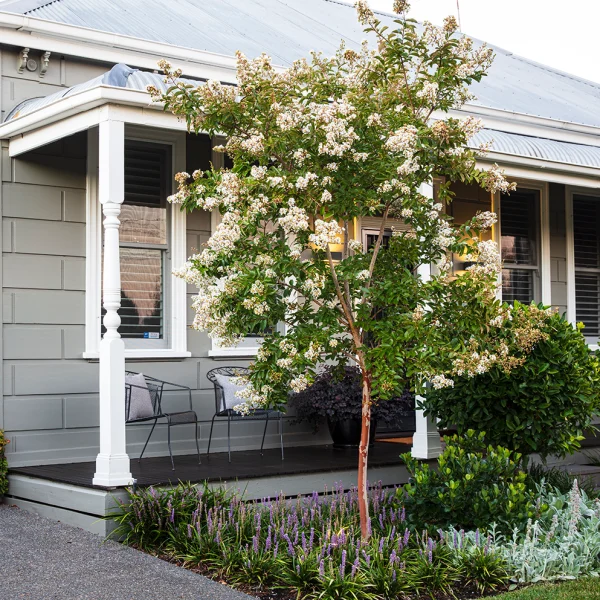
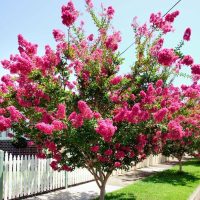
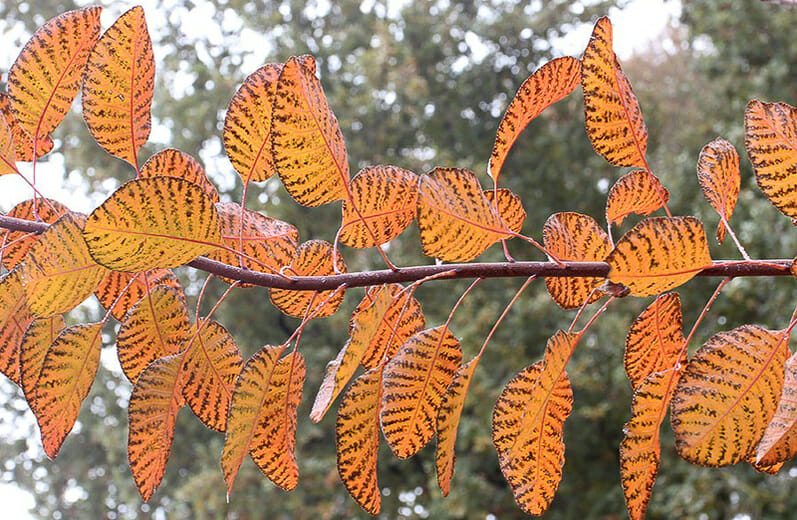
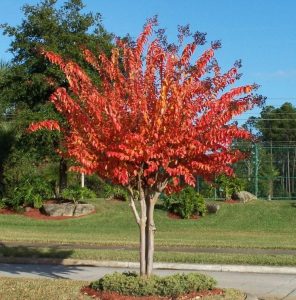
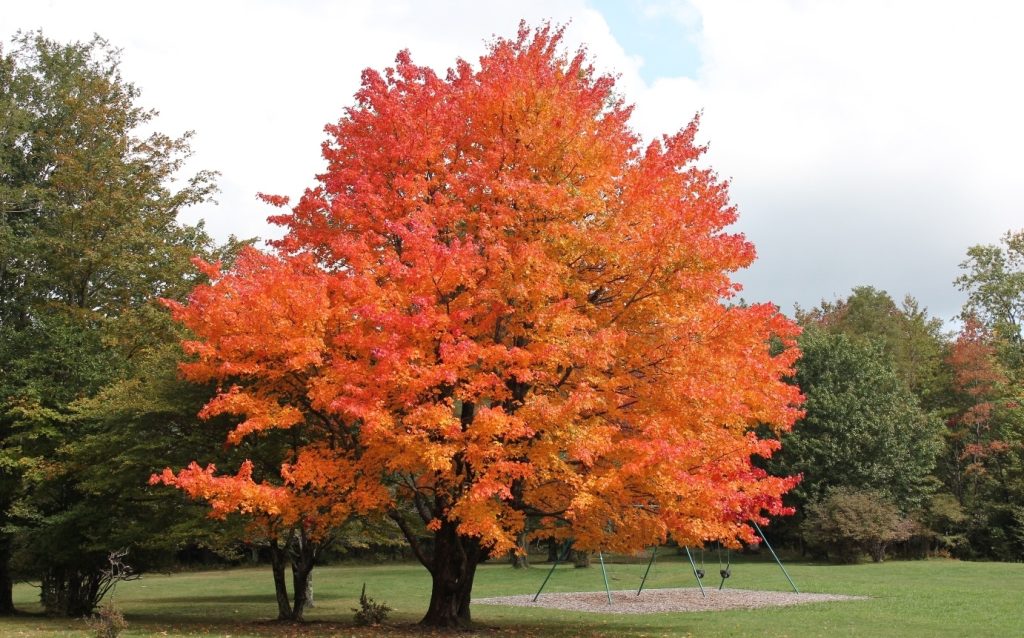
Lagerstroemia ‘Natchez’ Crepe Myrtle
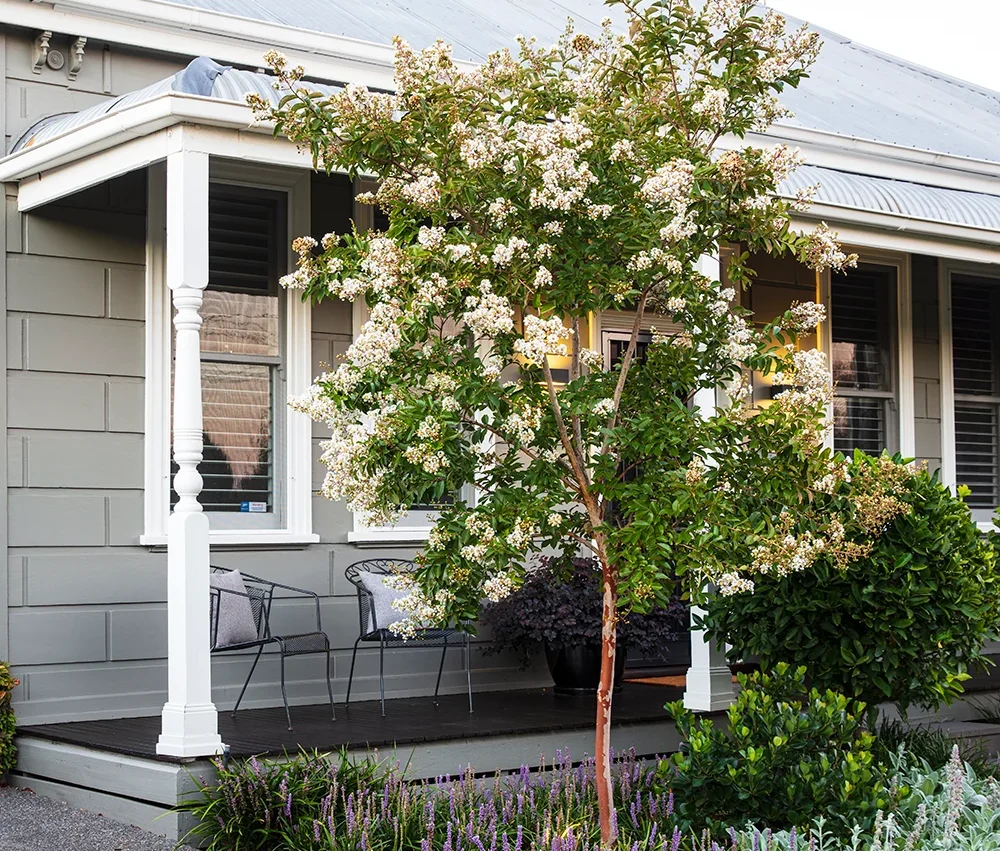
Crepe Myrtles are the trees you buy when you want something that will look incredible all year and give you something special in each season.
Summer brings a riot of white flowers, then comes dark green leaves. In autumn you see the foliage turn a bronzy red shade. Then winter the tree will be bare, with distinctive bark on full display. Spring then circles back to flowers.
Truly a beautiful tree, you can’t go wrong in picking this as your feature and for your Hamptons garden we recommend the ‘Natchez’ Crepe Myrtle as a good option.
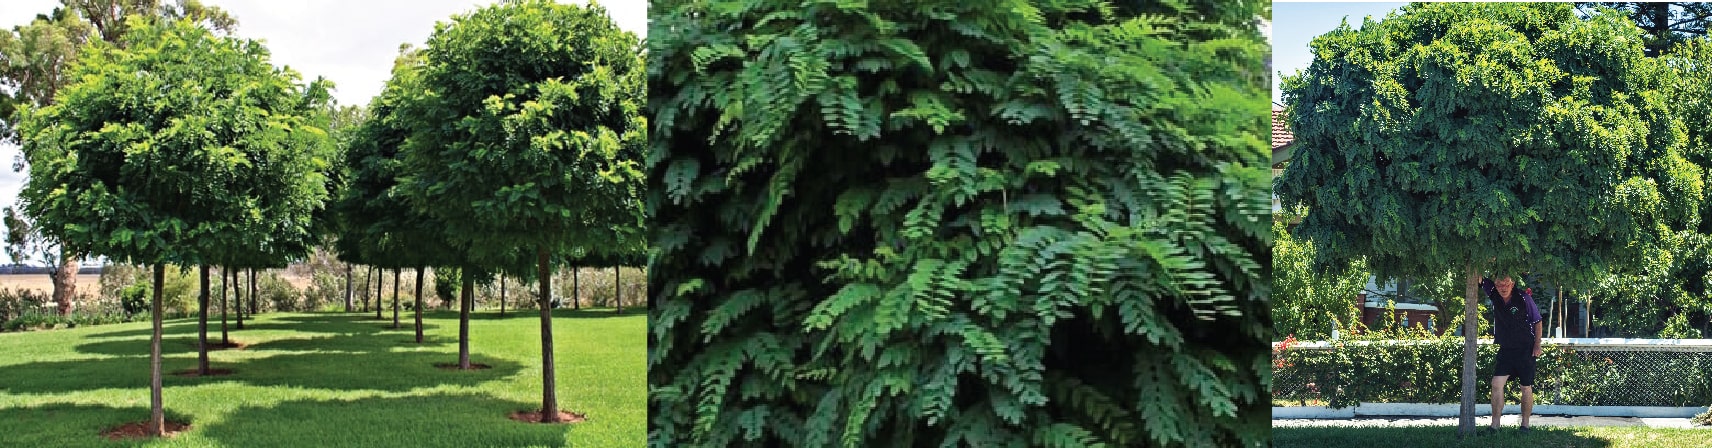
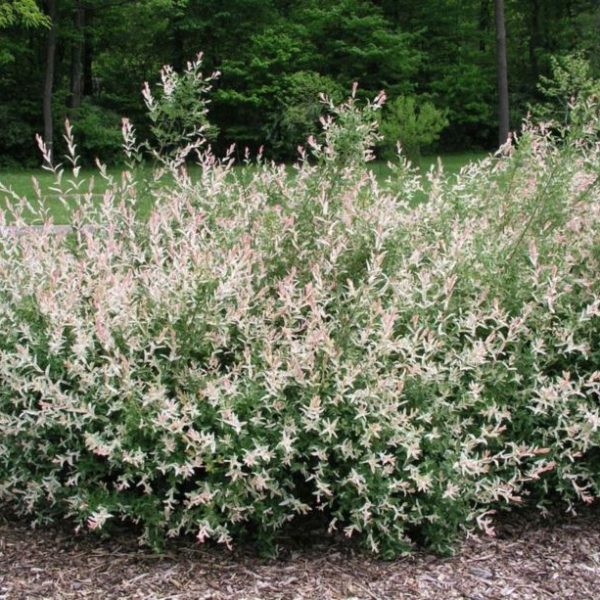
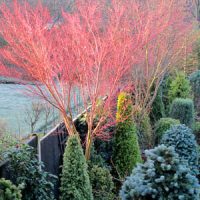
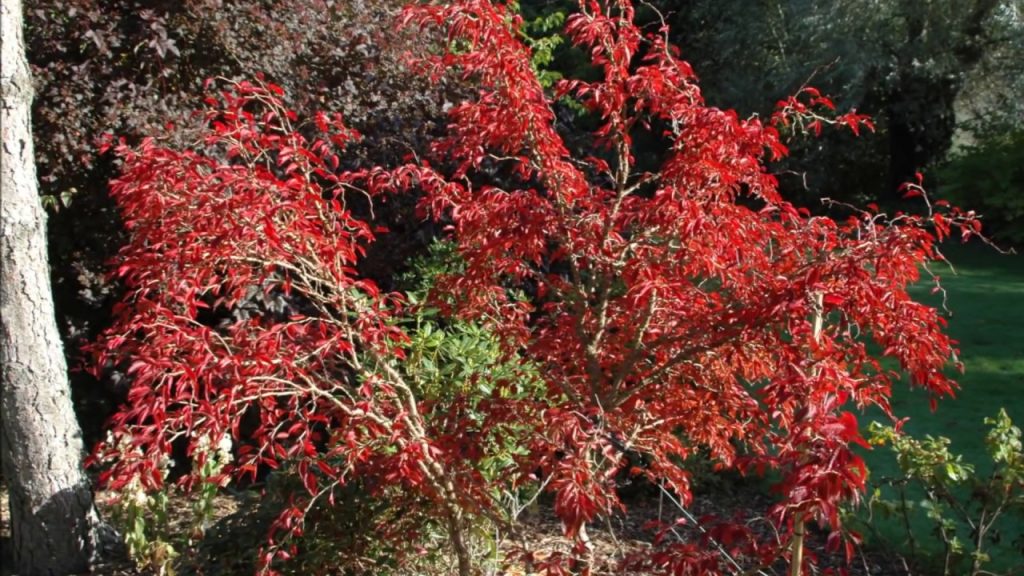
Salix ‘Hakuro Nishiki’ Variegated Willow
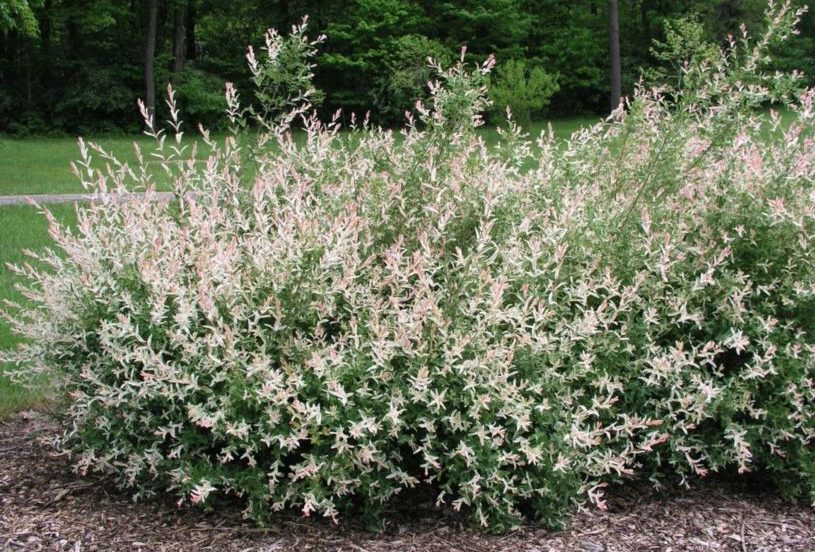
You will mostly see this tree as a standard, but it looks incredible in its natural form as well. The green-white variegated leaves, pink buds in spring and catkin in autumn make for a very striking tree.
It originates from the Asian flower garden culture and elevates any garden it is added to. Hakuro Nishiki is quite low maintenance, so you don’t have to fuss over it much.
However if you want the best results plant in a sheltered full sun to part shade position. The exotic foliage is quite a wonder to look at, with even hints of pink in the leaves.
Magnolia ‘Little Gem’
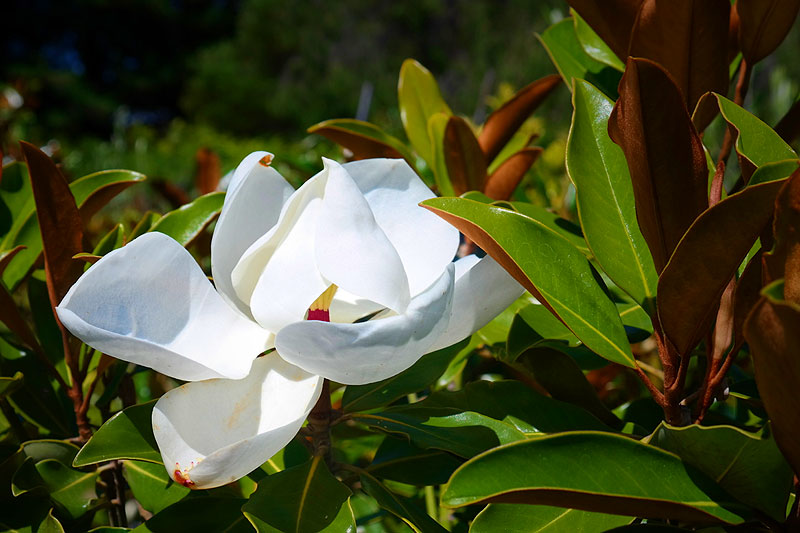
This is a classic beauty with two-toned leaves, one side is a glossy green, and the other one a velvety brown. On top of this in summer and autumn you get gorgeous creamy white flowers.
Little Gem is great for screening or as a feature tree, and once established is very hardy.
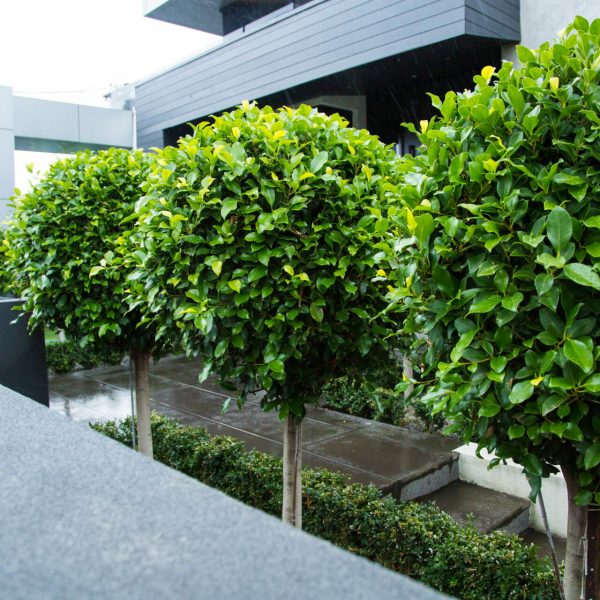
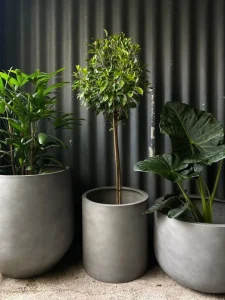
To add structure you’ll want to add some balls and topiaries which are best done with English Box.
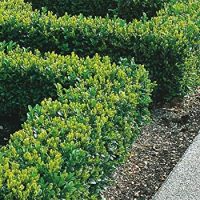
Buxus ‘English Box’
This is Melbourne’s most popular topiary plant, and for good reason.
First of all, it is gorgeous and lush, remaining nice and green through situations that would turn other plants brown or scraggly.
Next it is low maintenance, only requiring pruning once or twice a year.
Lastly, you have practically no limits when it comes to what you can do with English Box, from the classic ball and cone, to more fancy options like spirals and standards.
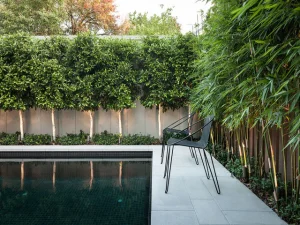
To continue with creating that formality these are the plants you can use for hedges.
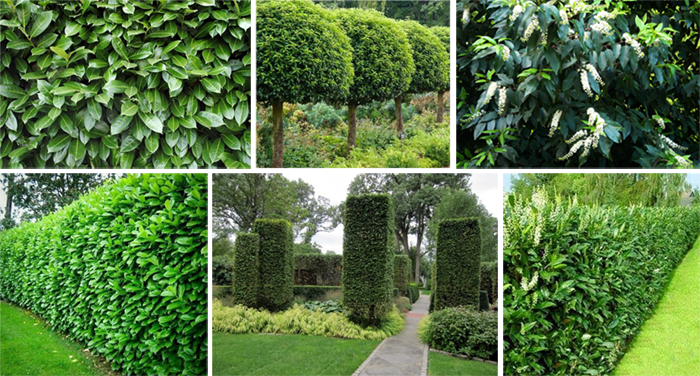
Hedges:
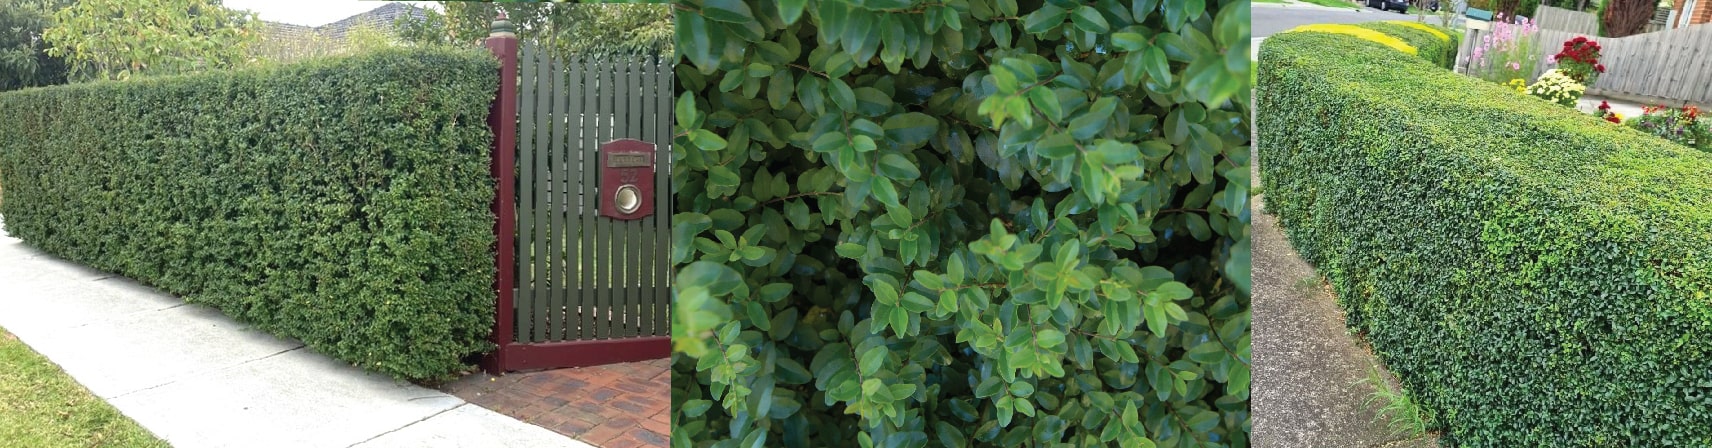
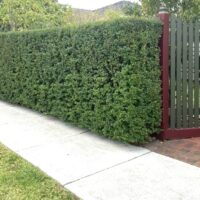
Buxus ‘English Box’

As we said before, English Box is such a popular and incredible plant. You can grow it up to 3 metres or trim it and keep it down to 1 metre
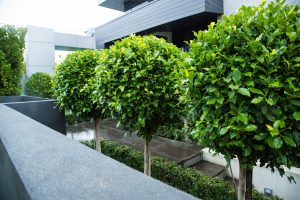
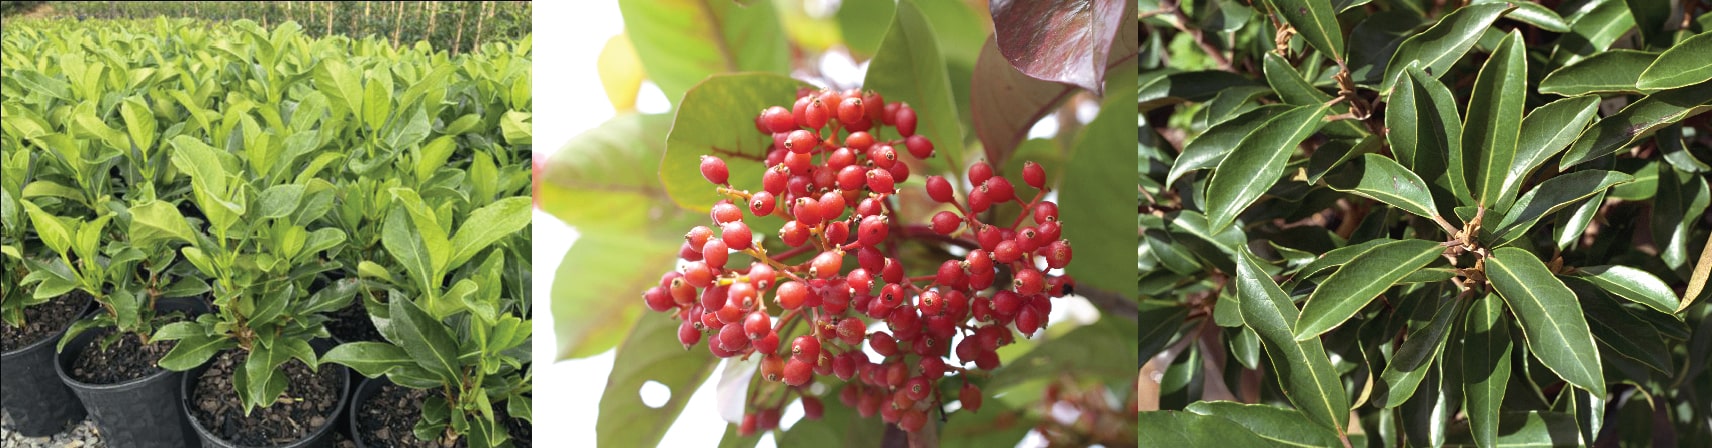
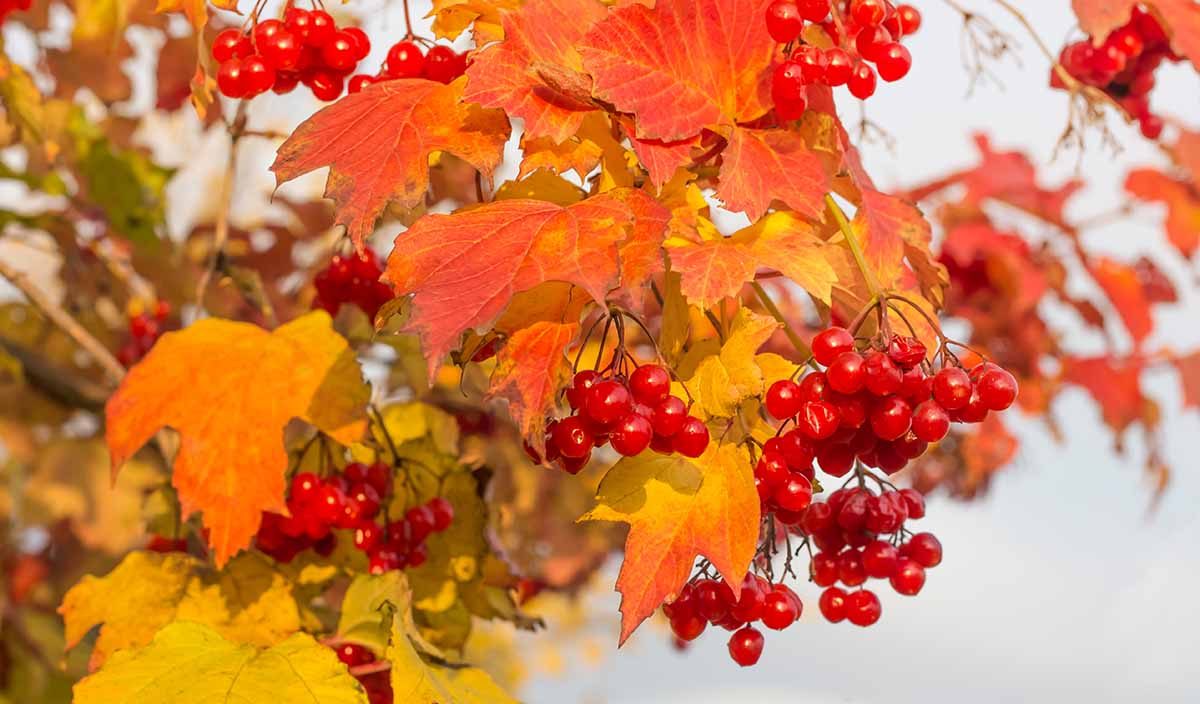
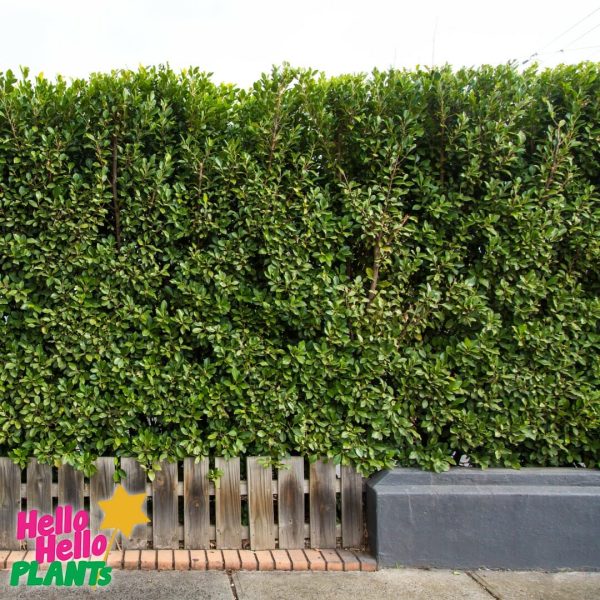
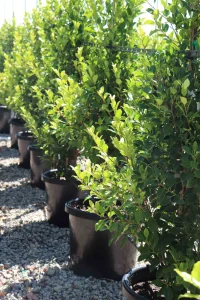
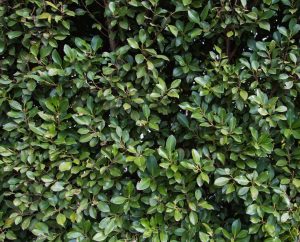
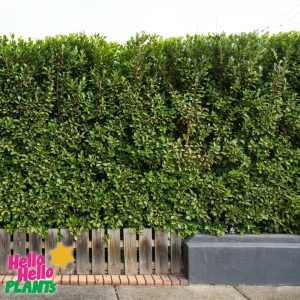
Viburnum odoratissimum ‘Sweet’
This is a gorgeous flowering hedge that is great as a screening plant. The fragrant small white flowers in spring nestle nicely alongside large oval shaped leaves.
Then in autumn you get beautiful red berries, adding even more interest to the hedge.
Sweet Viburnum is fast growing, reaching a maximum height of approximately four metres.
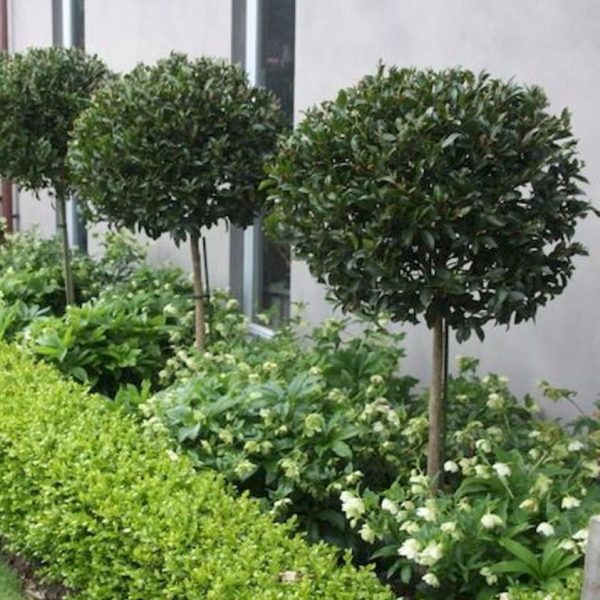
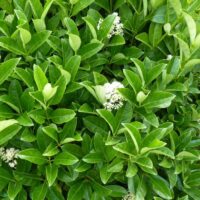
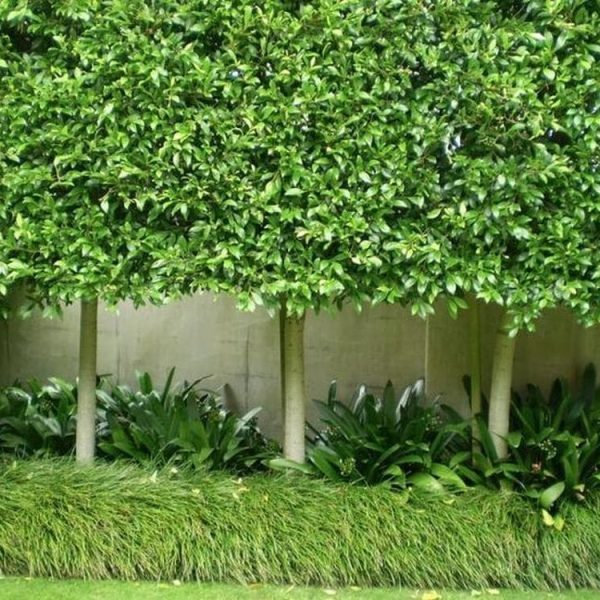
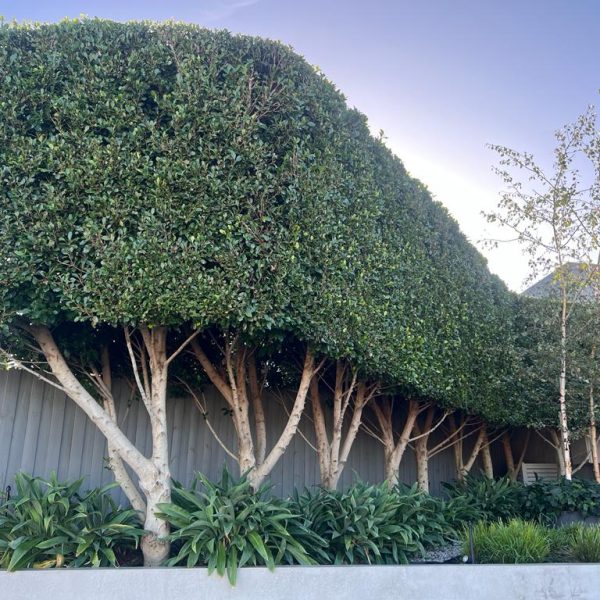
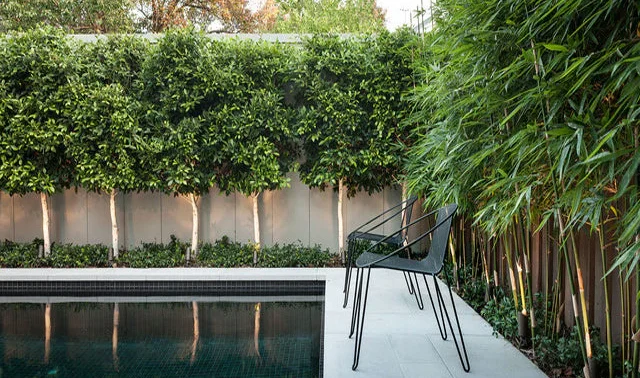
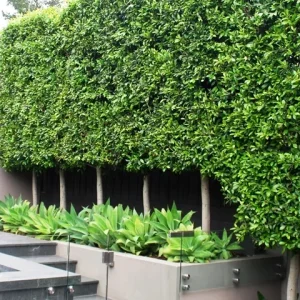
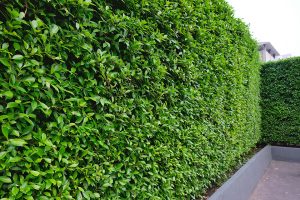
Prunus ‘Portuguese Laurel’
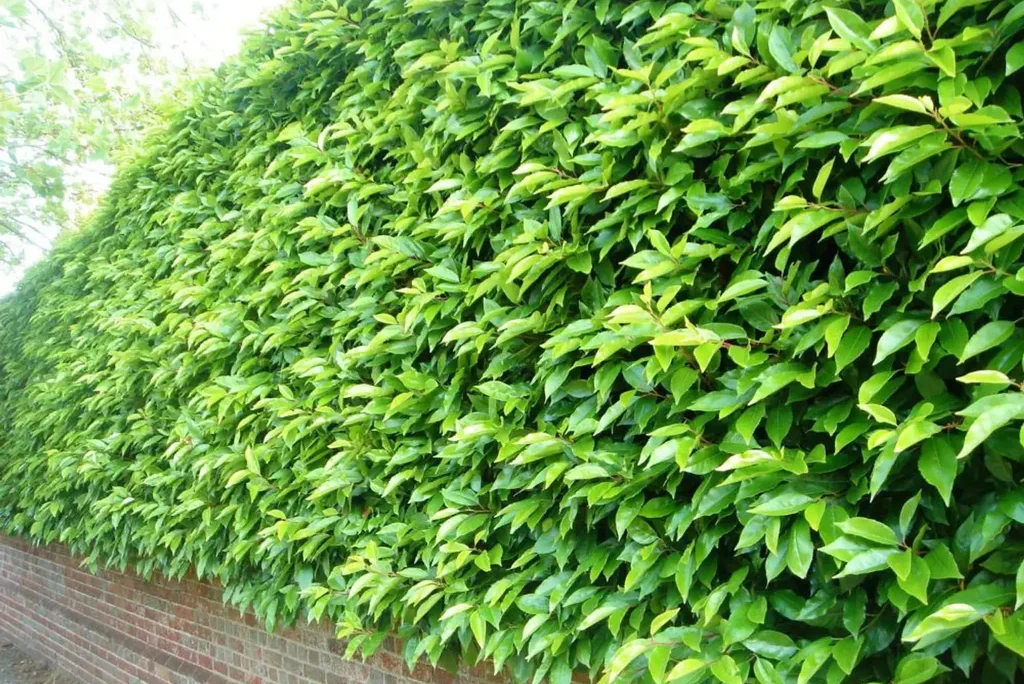
When you really want to add the classiness to your Hamptons Garden, this is the plant you go for. With deep green foliage and elegant white flowers in the warmer months, Portuguese Laurel is a great choice.
It’s perfect for pleached hedging and large standard topiaries. Portuguese Laurel will tolerate most soil conditions and loves full sun to part shade.
How to Add a Twist to Your Hamptons Style Garden
So let’s say you’re one of our Garden Design clients that wants to add a unique spin to the Hamptons Style Garden. Here are some of the things we’ve heard our customers say they want:
- I want Hamptons but with a Cottage twist.
- I want Hamptons with all Native plants.
- I want Hamptons but in a Japanese style.
Let’s tackle each option and go through how we would approach each one.
Hamptons with a Cottage Twist
 Now because Hamptons is essentially a “Cottage Garden but with a specific colour palette” you have so much freedom of choice here. We’ll mention a few of our favourite Cottage Plants but you definitely aren’t restricted to just them.
Some of the Cottage plants that fit the Hamptons colour palette are:
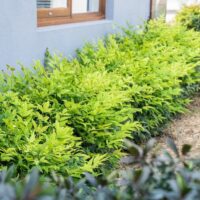
- Liriope ‘Evergreen Giant’
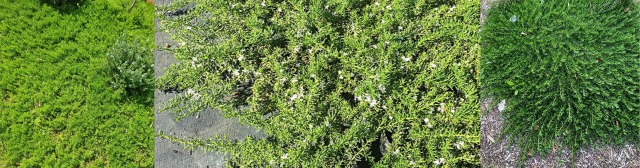
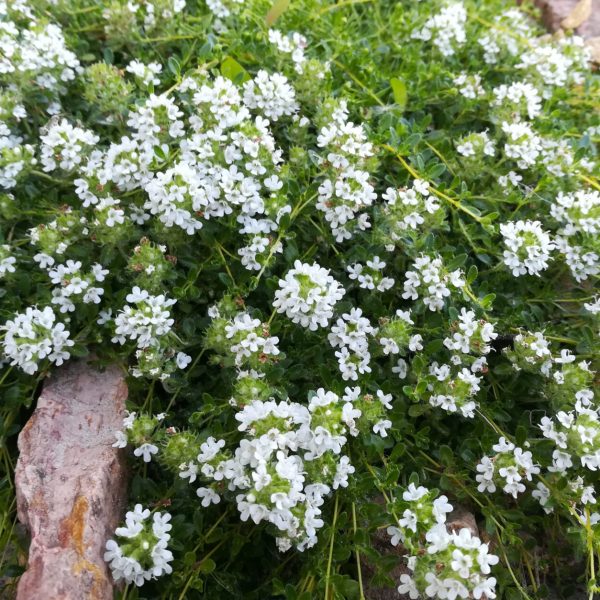
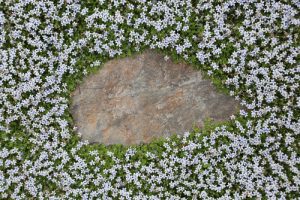
- Thymus ‘White Creeping Thyme’
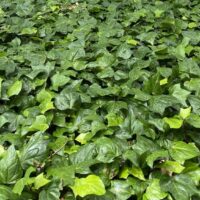
- Trachelospermum ‘Chinese Star Jasmine’
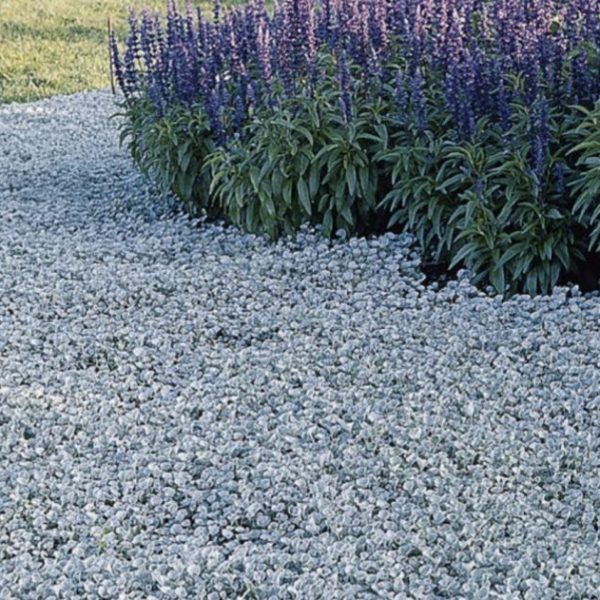
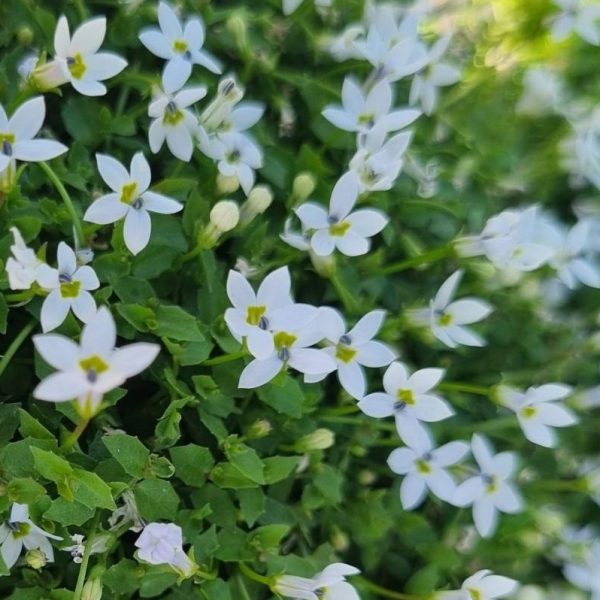
- Cerastium ‘Snow in Summer’
- Gaura ‘White’ Butterfly Bush
Explore our entire Cottage range here.
Hamptons with Australian Native Plants
Topiarised Natives are a great starting point for a Hamptons style using Australian Native plants. Westringia and Correa alba are to great options for topiaries, or you can also make hedges out of them.
There is also quite a few Natives that will give you that wild loose look. This is plants like Prostanthera ‘Round Leaf’ Mint Bush which has an incredible show of purple flowers with a strong mint smell. You can keep it natural or shape it into a low hedge or neat round shrub (just make sure you still have those ‘loose’ looking plants).
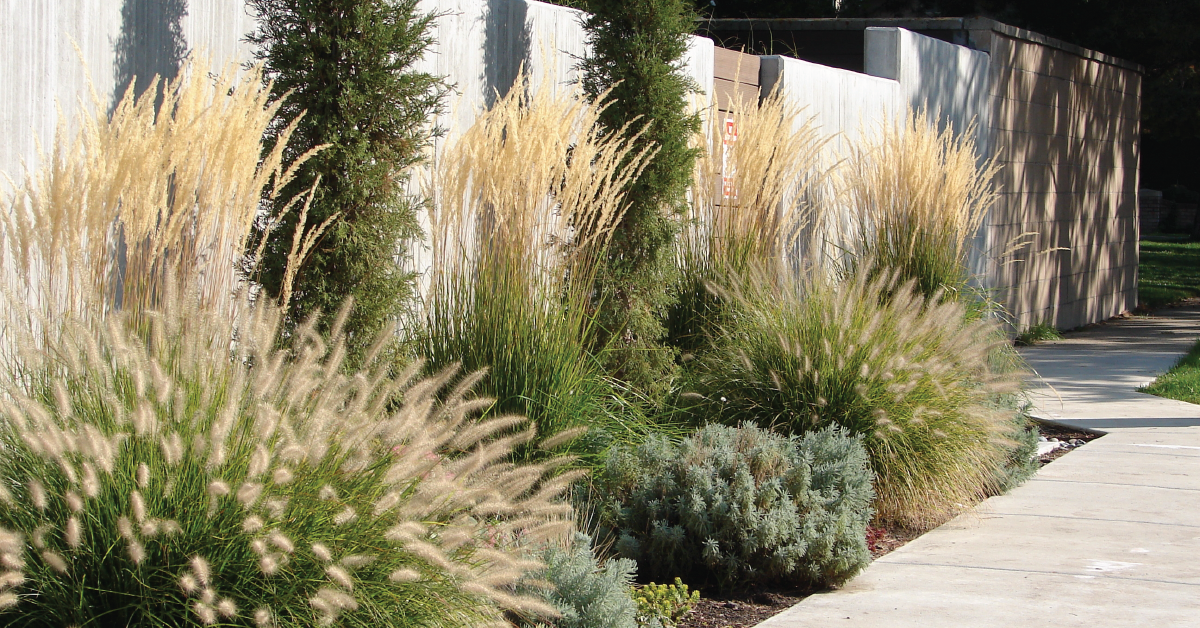
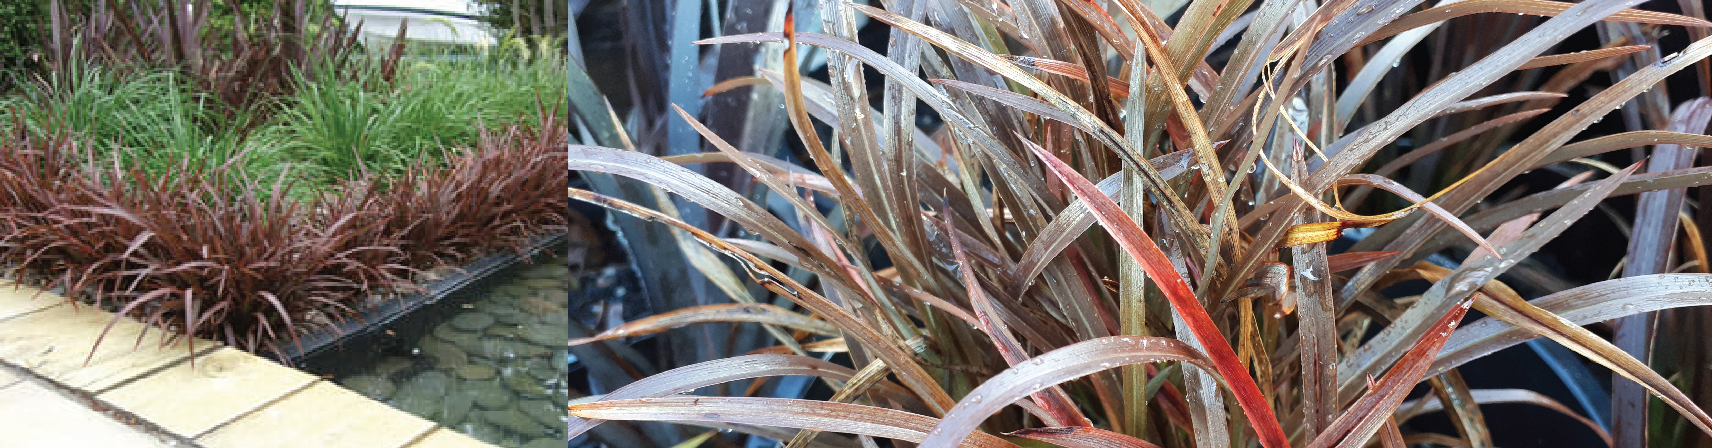
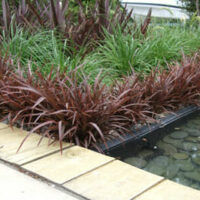
Native Grasses are another great plant, particularly Lomandra ‘White Sands’ with its fascinating variegated foliage. White Sands is fast-growing and great for mass planting and rockeries.
Explore our entire Native range here.
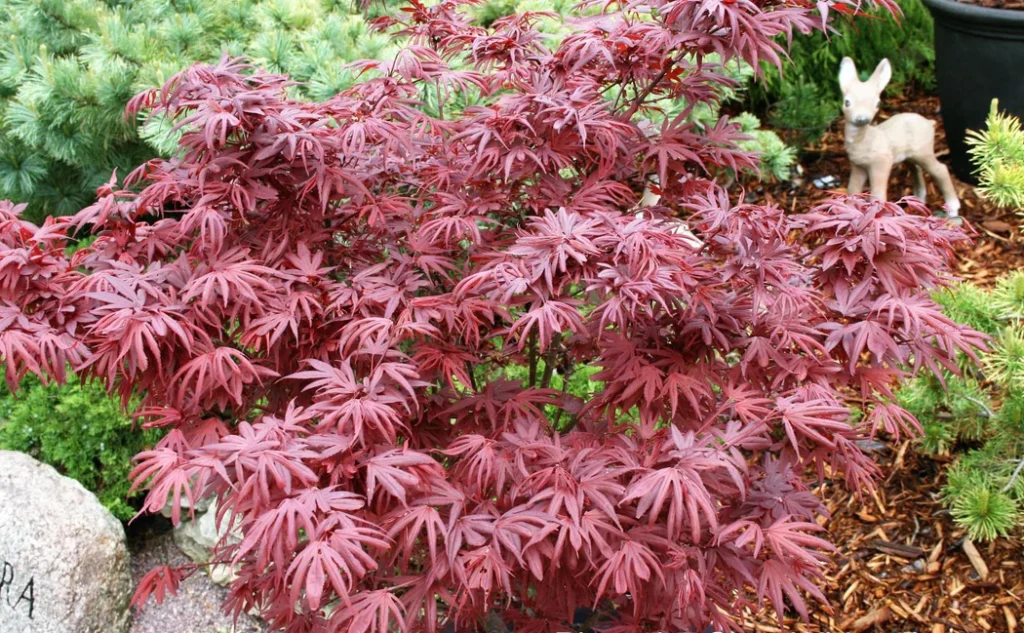
Hamptons Combined with a Japanese Style
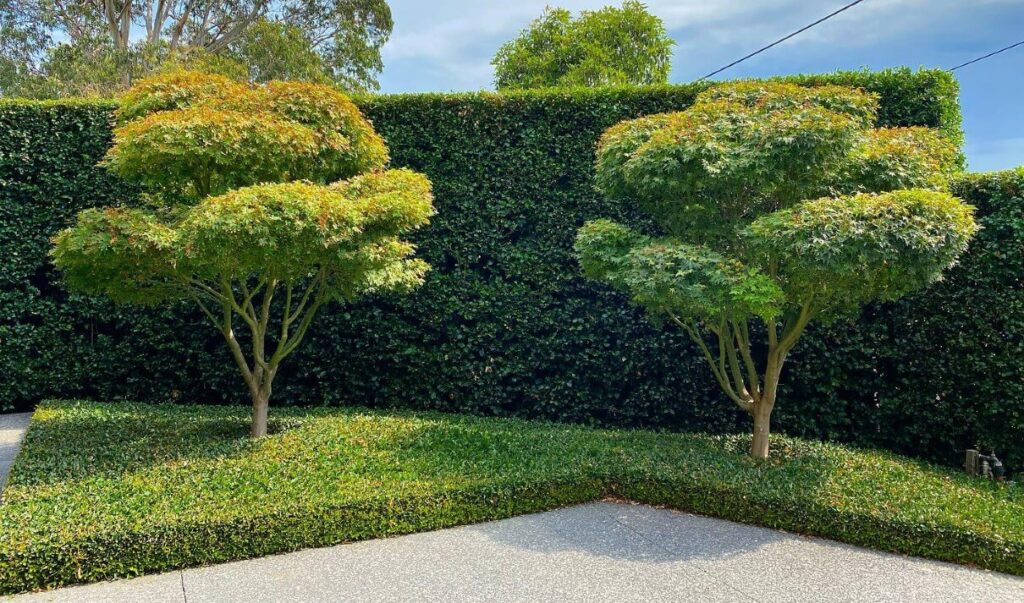
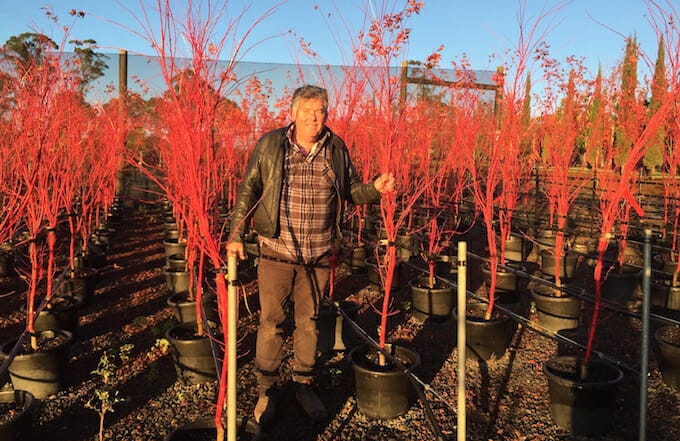
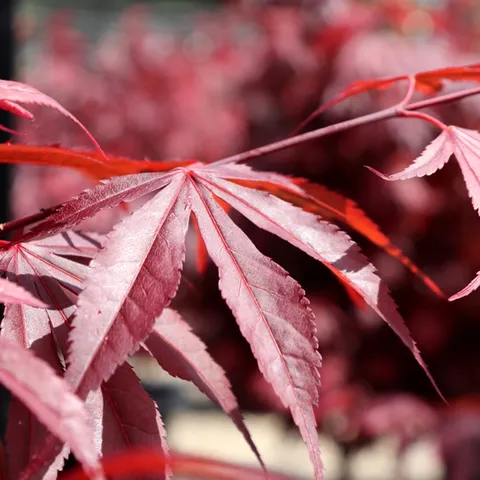
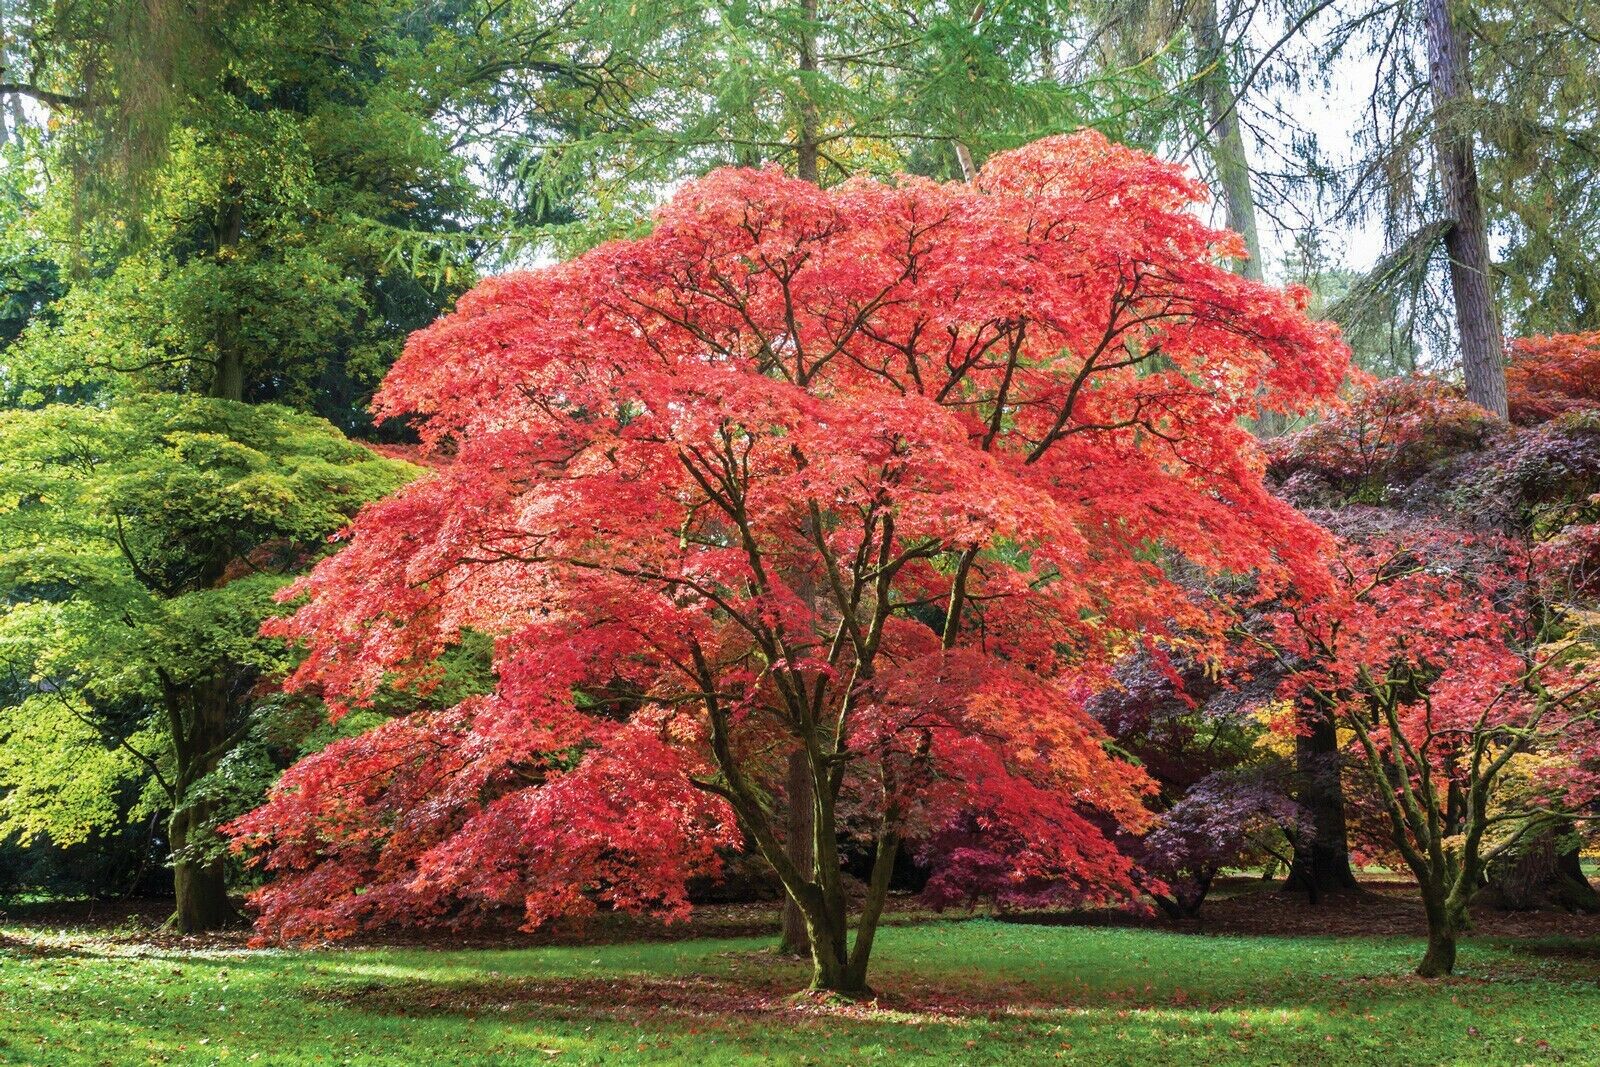
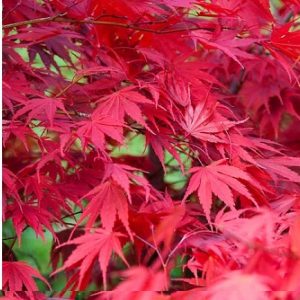
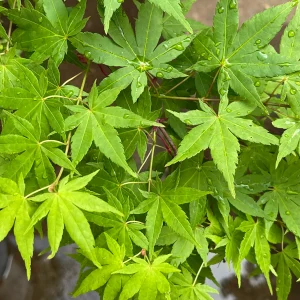
Take the quintessential plant of the Japanese style – a Japanese Maple, and cloud prune it to make it Hamptons style. It looks absolutely incredible and gives you a feature tree unlike anyone else’s.
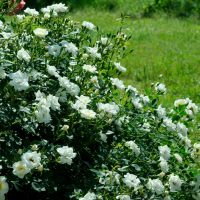
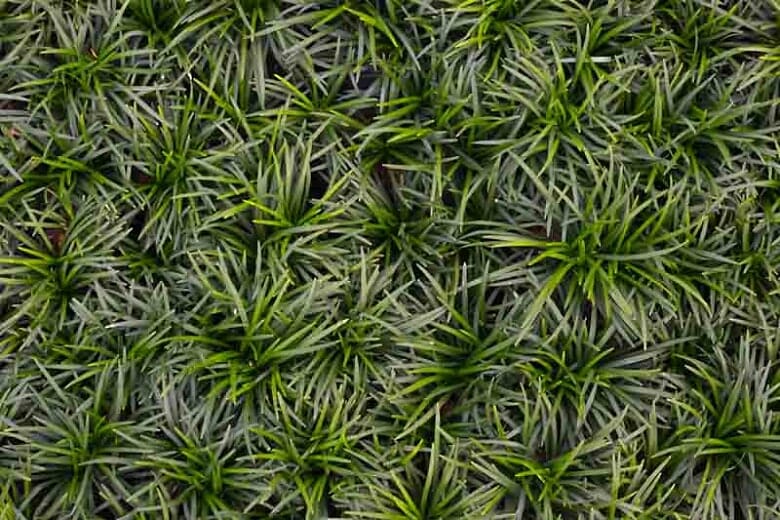
Then it’s just a matter of choosing plants that fit the Japanese style and criteria of the Hamptons style such as Ophiopogon ‘Dwarf’ Mondo Grass, Gardenia ‘Florida’, Jacaranda Tree, Prunus ‘Falling Snow’ Weeping Cherry and Wisteria sinensis ‘Purple Chinese Wisteria’.
Explore our entire Japanese range here.
Now it’s Time to Make Your Hamptons Garden
 Whether you go for the classic Hamptons Style, or incorporate some new twist to it, we hope this guide has helped you get started.
Remember, a few solid shapes combined with loose and wild plants that stick to that specific colour palette and you got a Hamptons style.
If you’re still feeling a bit suck and want some personalised advice, book one of our Free Garden Designs here.
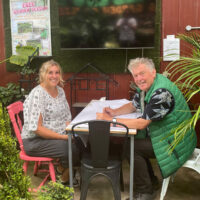
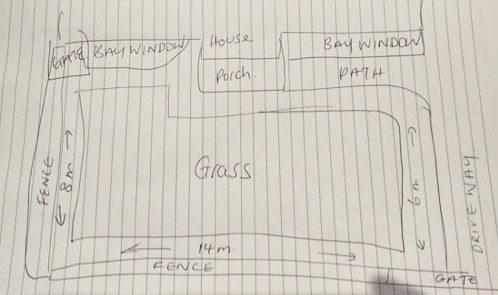
Feeling inspired to create your own garden, but want some expert advice? Try our one-on-one garden design service with Chris. Together you’ll come up with a selection of plants along with a layout plan that gives you the look you want, as well as being suitable for your local soil and conditions.

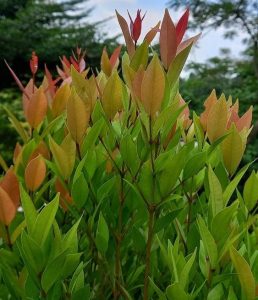
 This beetle problem is quite recent, a decade or so ago this wasn’t an issue at all. Which is why so many people in Victoria were buying and filling their gardens with Lilly Pillys.


 What’s interesting about
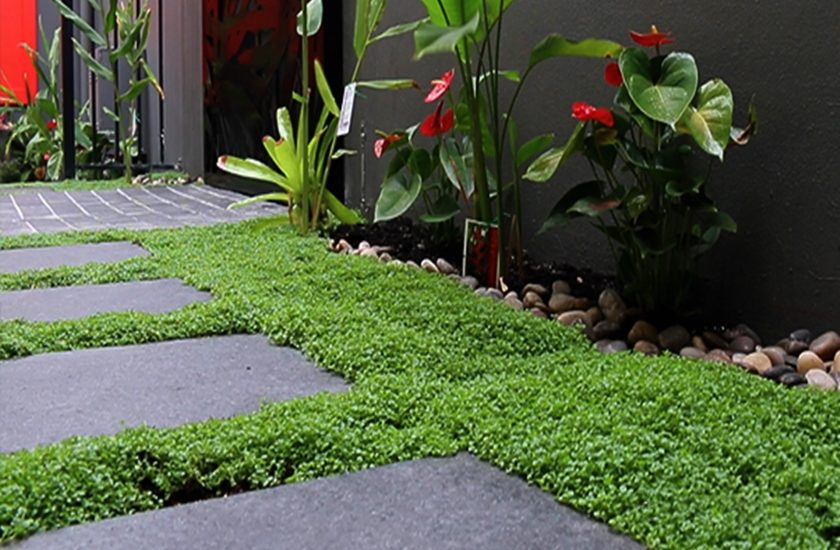
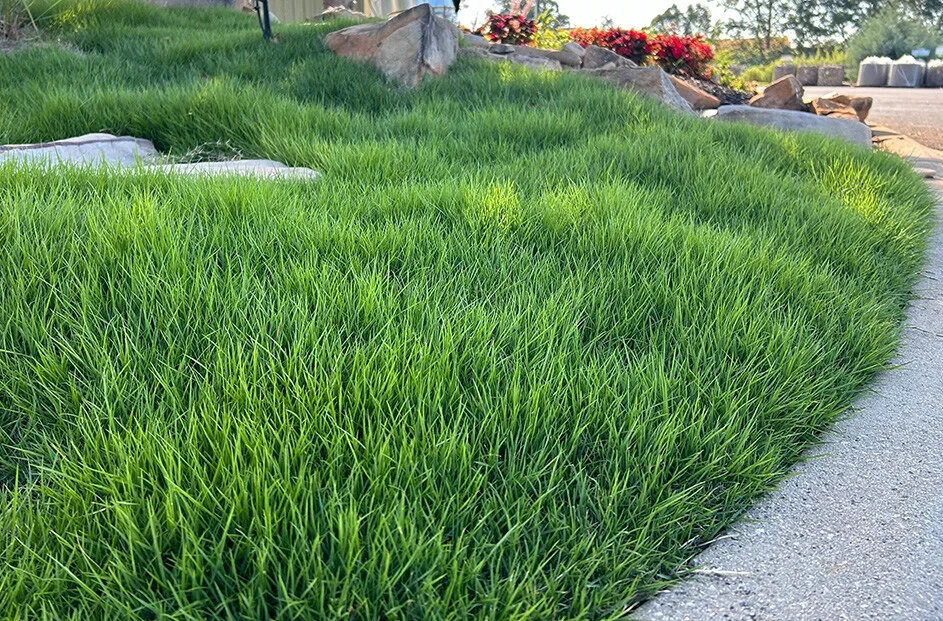
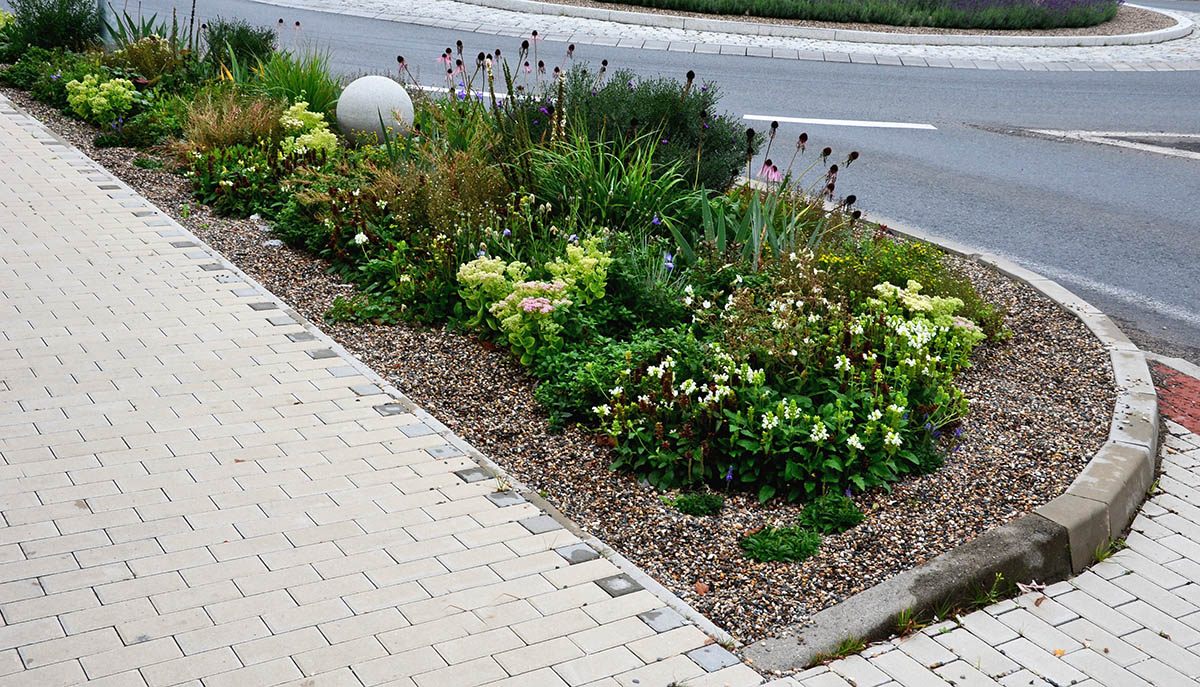
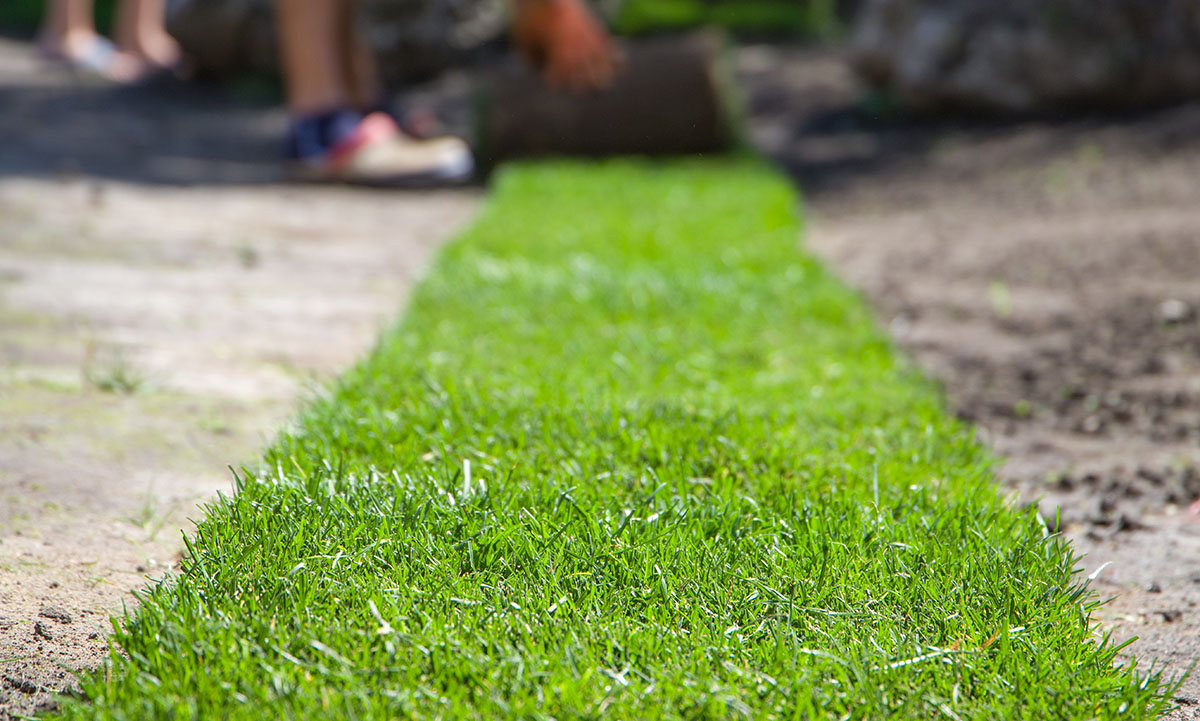
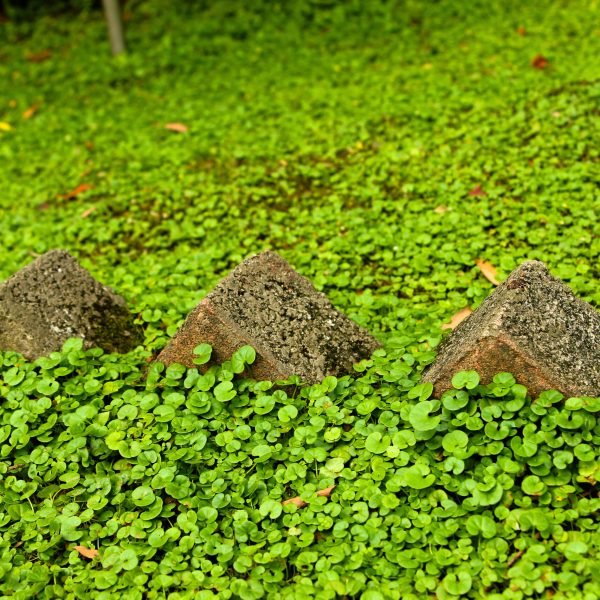
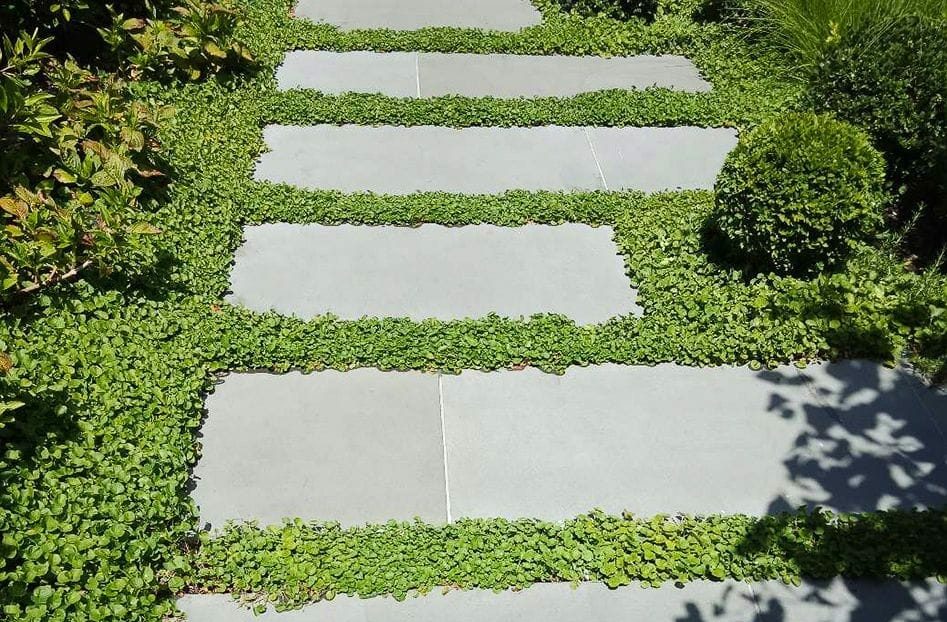
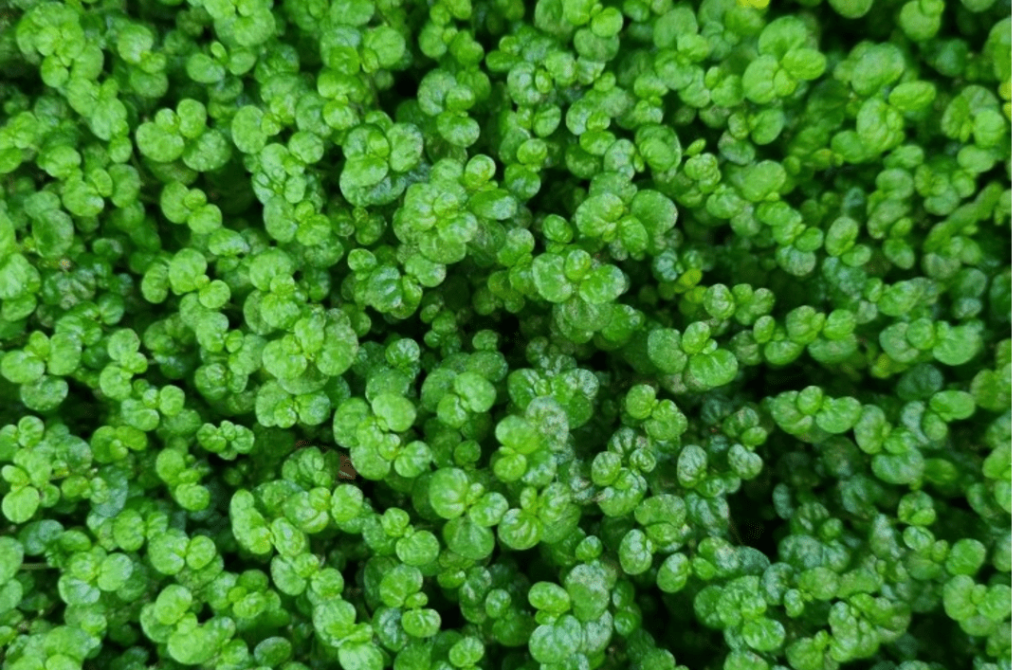
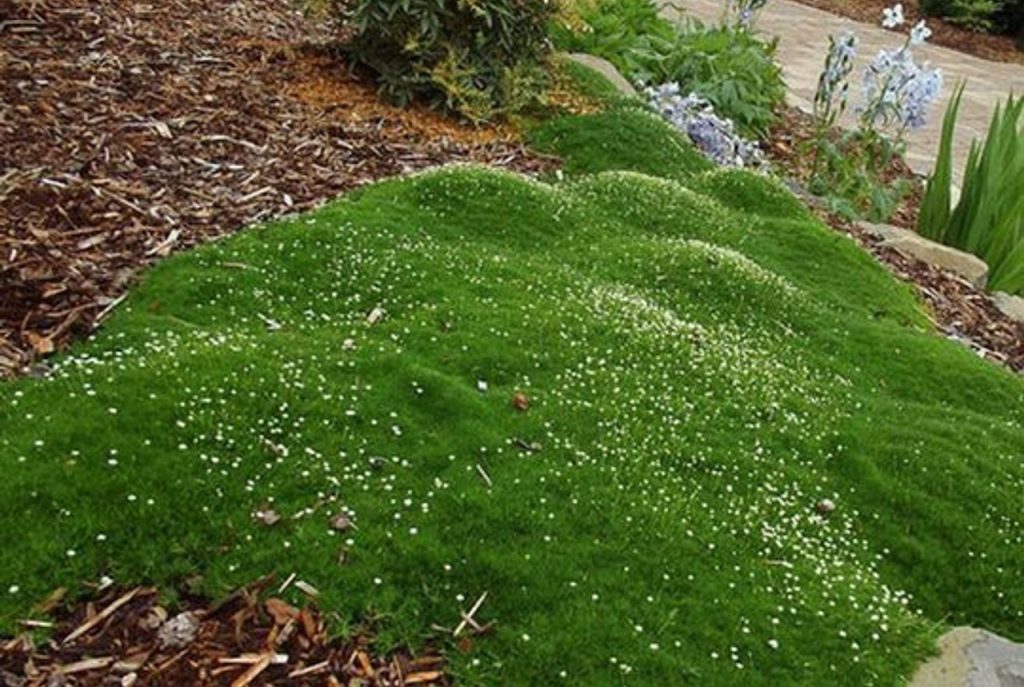
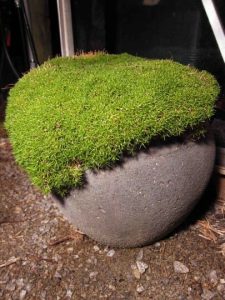
 So there you have it, an excellent round up of lawn alternatives for that tricky small space in your garden. We hope this has shown you how easy and cheap it is to create a beautiful lawn – and to steer FAR away from artificial grass.
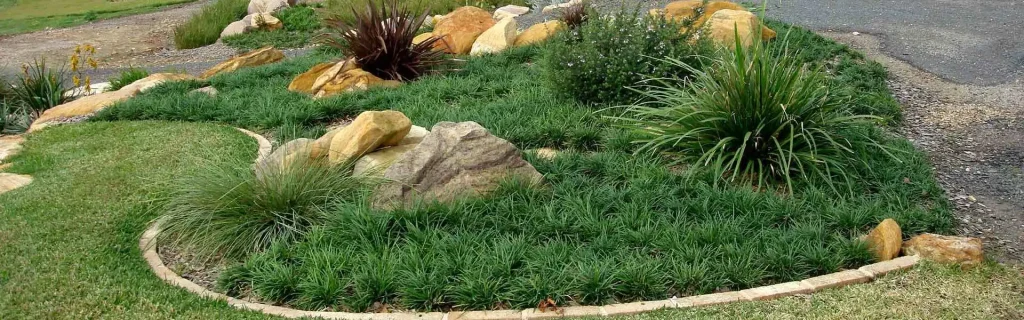

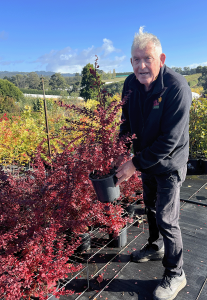
 We met up with Steve from Nishiki Nursery, who is one of our growers and a plant expert in his own right. He may even know more about plants than Chris does!
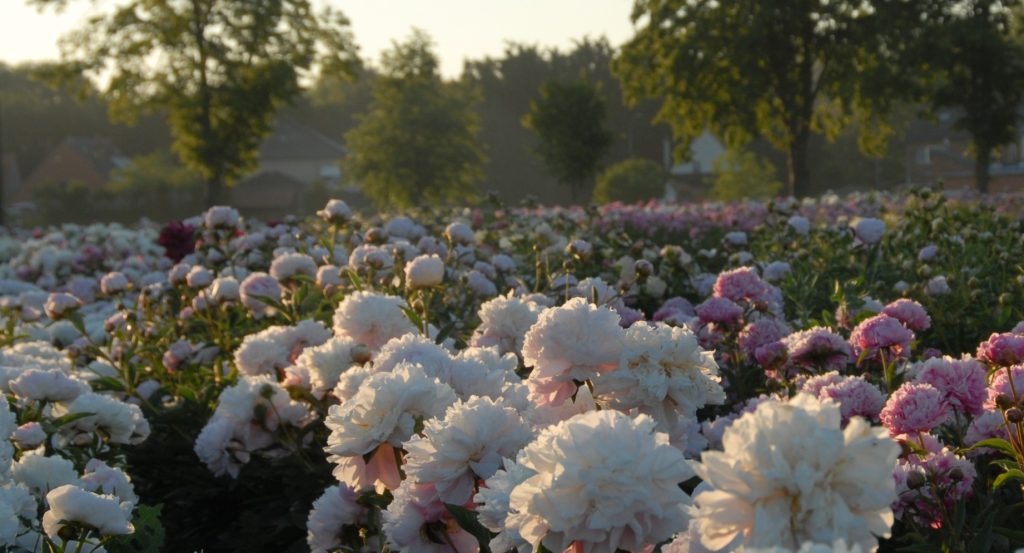

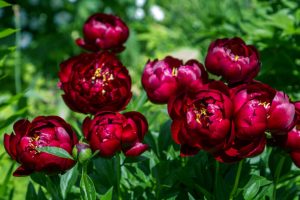
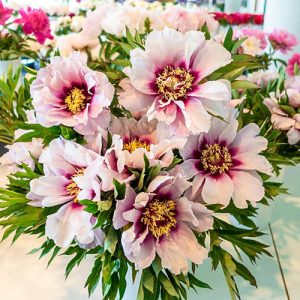
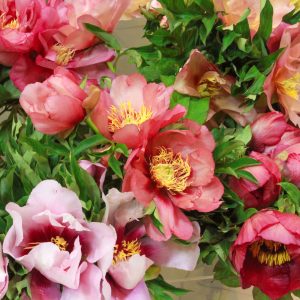
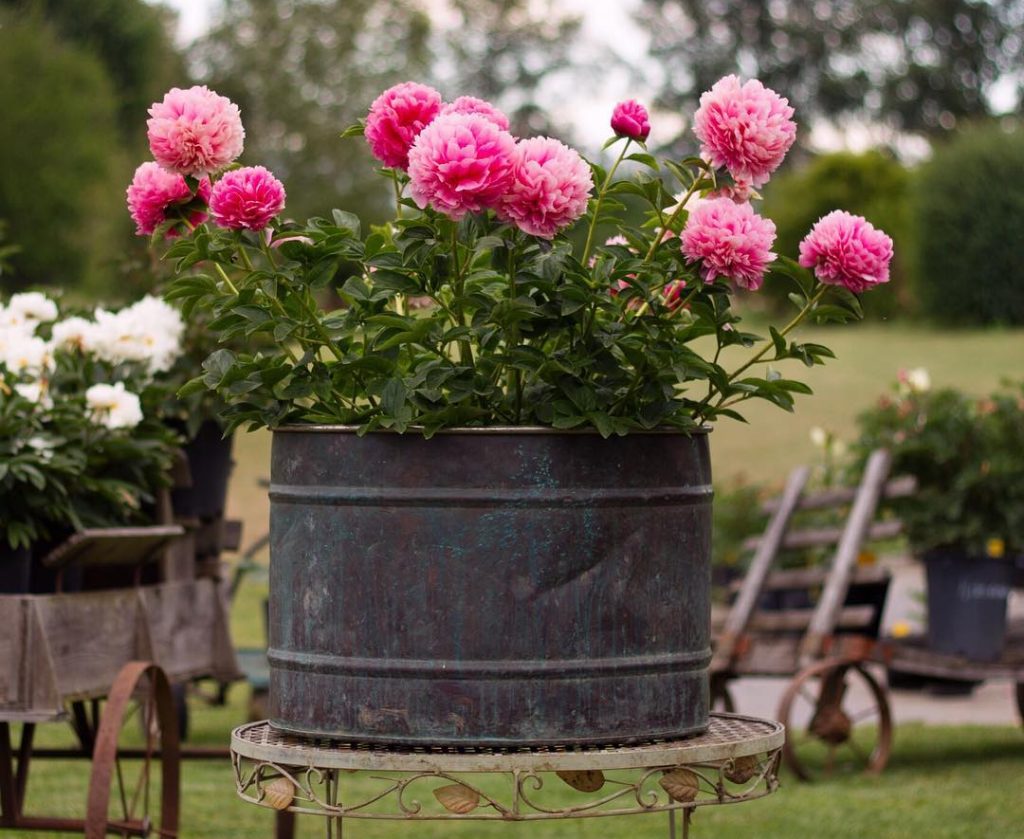
 These are Herbaceous Peonies, and we have two types for you. There’s
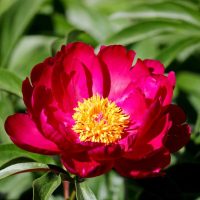
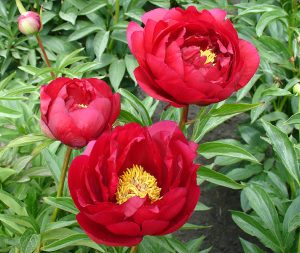
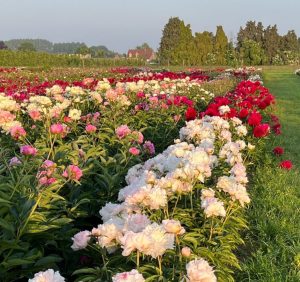 Most types of Peonies require frost and special conditions to flower, which is a big part of the reason why only the very keen gardeners and experts would plant Peonies at all.
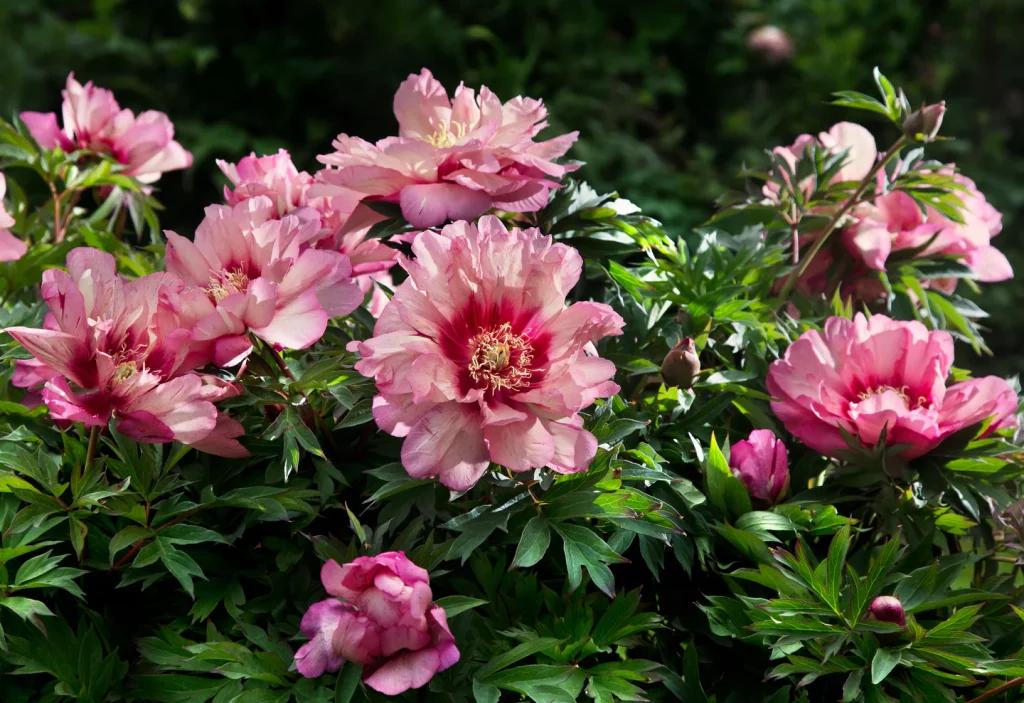

 An
An 

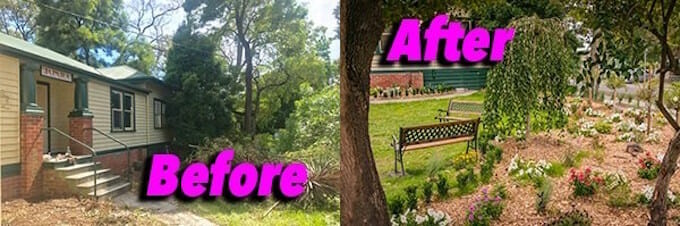
 A lot of people come to us wanting help for their garden as they are going to put their property on the market. These are the smart people that know a garden can greatly affect the value of a property.
 The first step you’re going to take is subtraction. This is where you want to bring in some outside opinions like your mum, brother, friend, whatever.
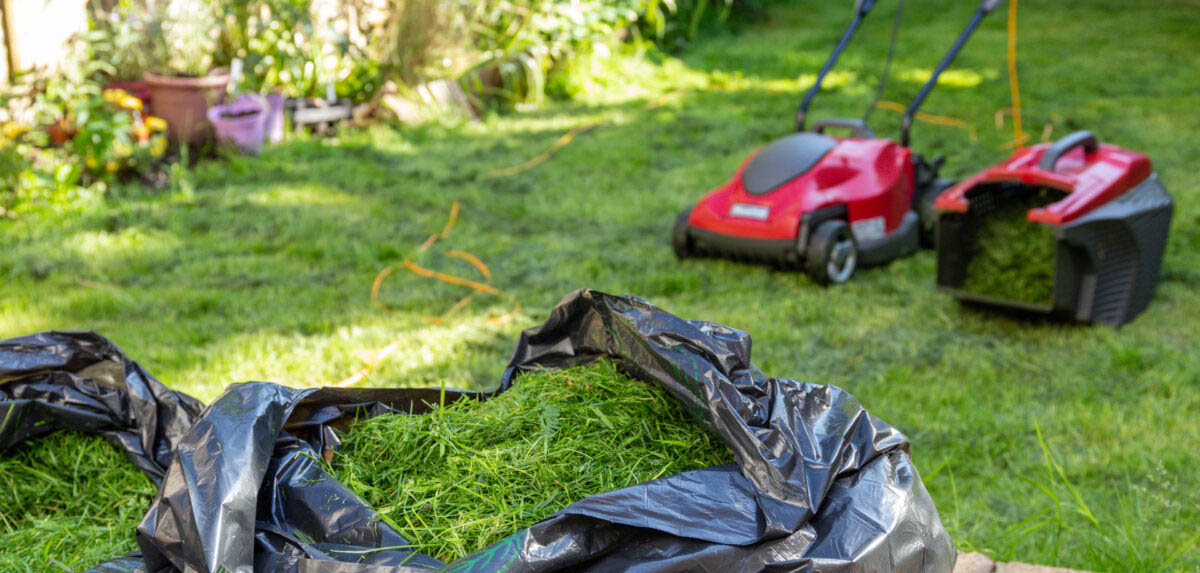
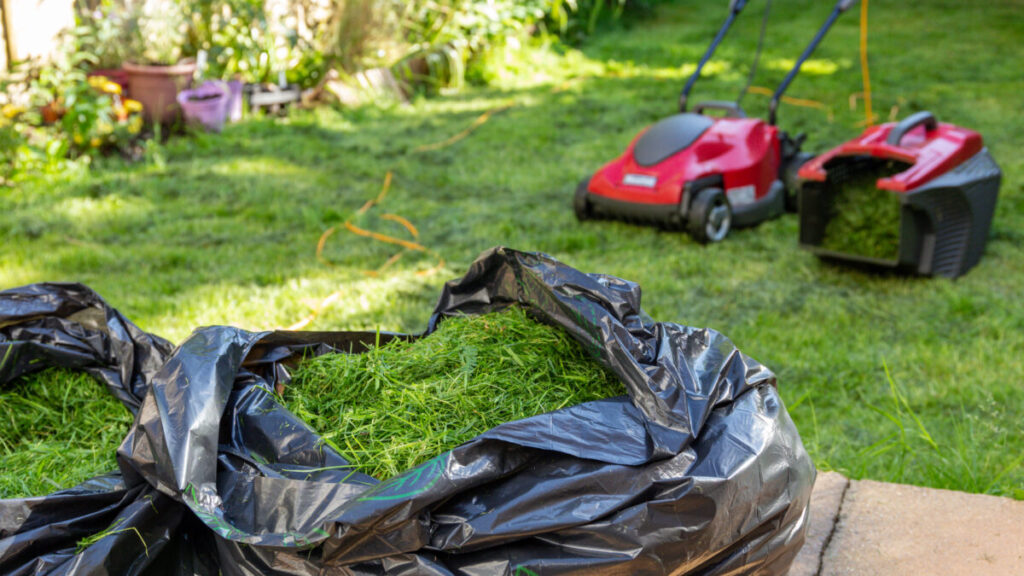 Mow the lawn, rake out a bit of potty mix and then seed the lawn with annual ryegrass. Problem fixed. Also if you have young tender grass, mow it up high and often.


 When we decide what plants are low maintenance, we look for things like are they self-shaping, do they attract bugs, are they disease resistant, do they require a lot of water and so on.

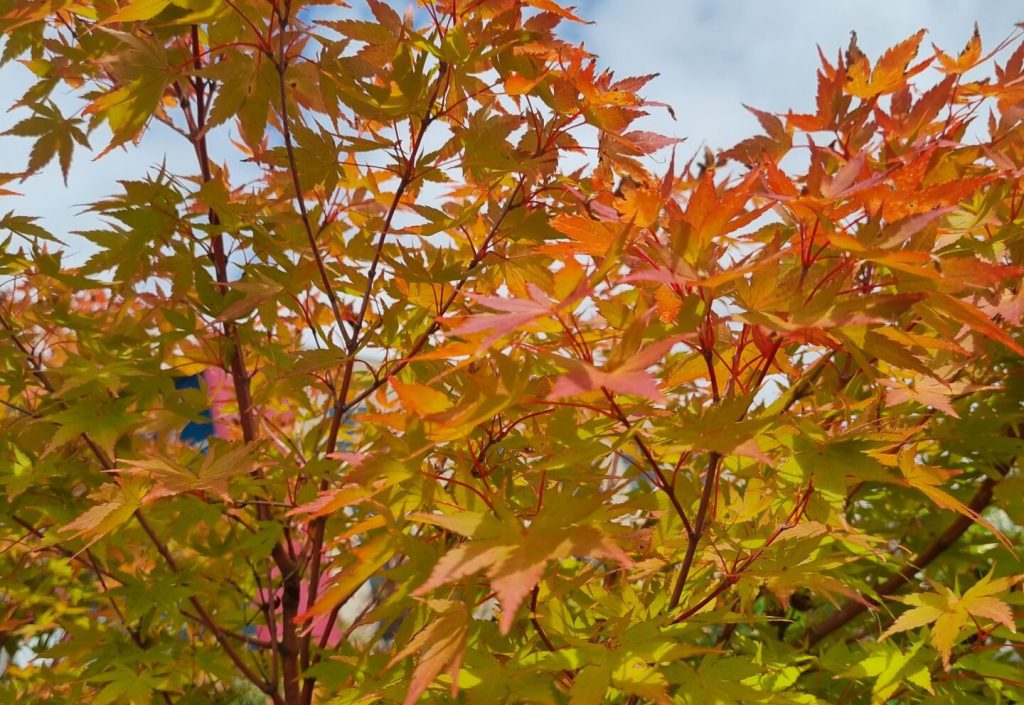
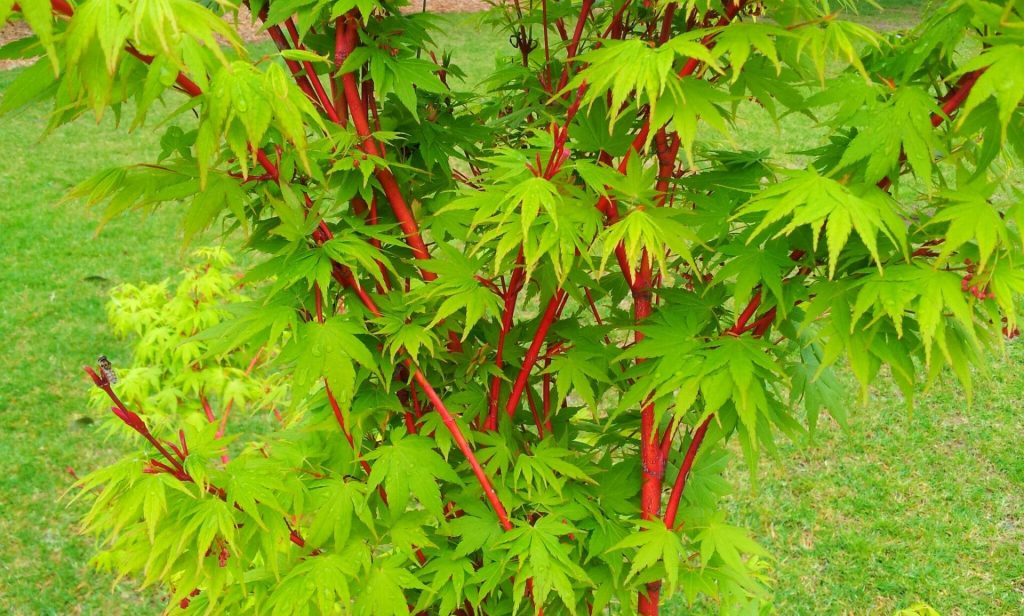
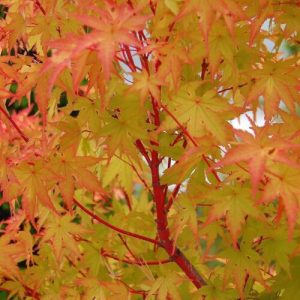
 Senkaki Maple


 The final touch would be some


 Firstly, in the winter he would mix up the seeds with moist
 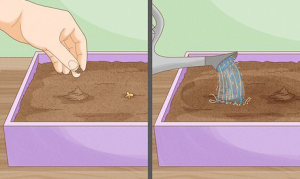 Twice a day he watered the bed. Once they had germinated and were half an inch high, he would lift the hessian and timber frame to about 50cm off the bed. This allowed for airflow and reduced humidity. Dad also decreased the amount of watering at this point.
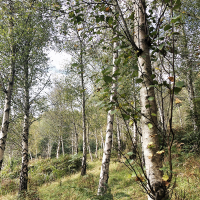
 By the next winter these Birches were about 80cm tall. Now around this time that my dad was perfecting the growing process of Silver Birch Trees, we had a Finish family move in next door to our growing field. It was a husband and wife with ten children! Now the Toorkolas LOVED the Birch trees. They actually took scraps from the Birch Trees and created all sort of things with it such as brooms. They even said that if they were back in Finland, they would’ve made shoes out of the Birches! It was pretty incredible to hear about the other uses of the Silver Birch. Especially because during this era, Silver Birches were one of the most popular ornamental trees in Melbourne. Even now they’re still popular because they grow very vigorously and are a very pretty tree that don’t grow too big.
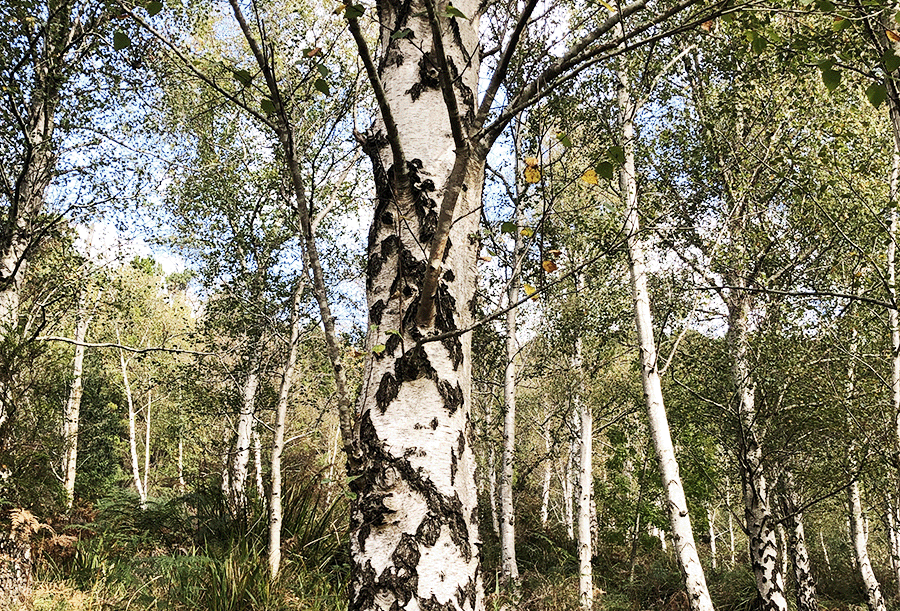
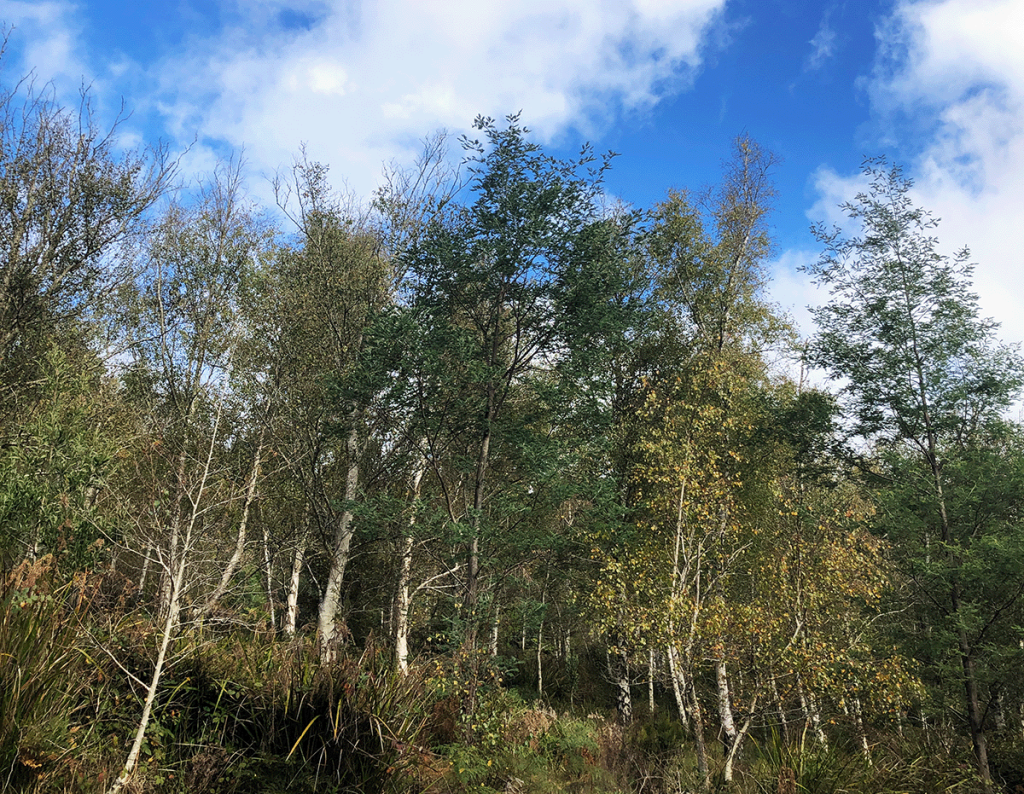
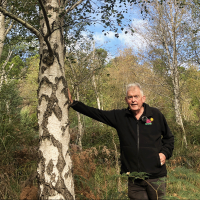
 In his research he stumbled upon our website and was shocked when he discovered that we were growing Silver Birches here. As he details in his email to us “present foresters consider Silver Birch to be strictly adapted to local conditions” and “can be transferred only 200km N or S.” Australia is much further than that. So scientifically you shouldn’t be able to grow a Betula Silver Birch at this latitude. However, Rousi is trying to argue to the contrary, where Betula pendula “is very plastic” and can adapt to other conditions.
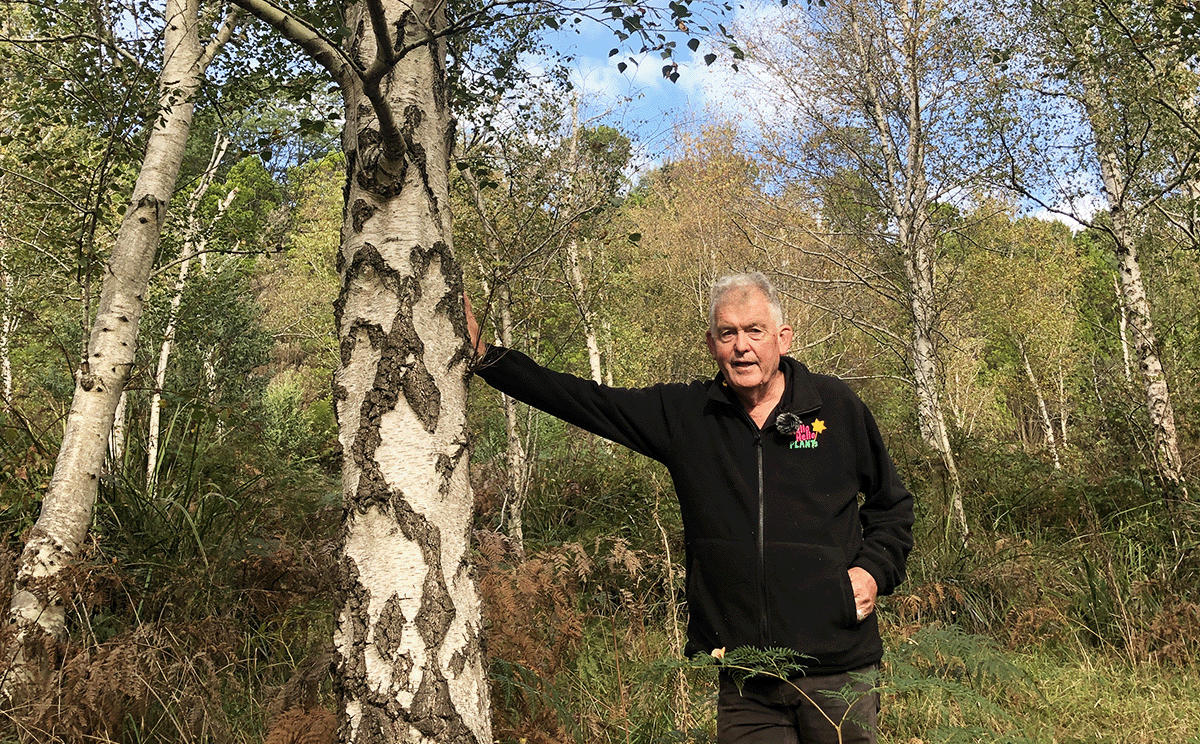 This Silver Birch Forest is living proof of that. So not only has this Silver Birch grown without any maintenance, but it also defies what many Finnish foresters believe. If you want to hear more about this, I highly recommend reading Matt Rousi’s book once it has been published.


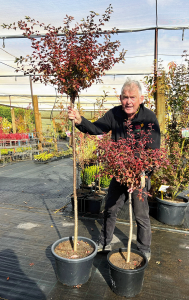
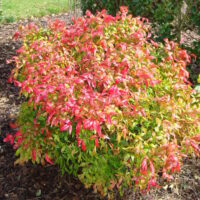
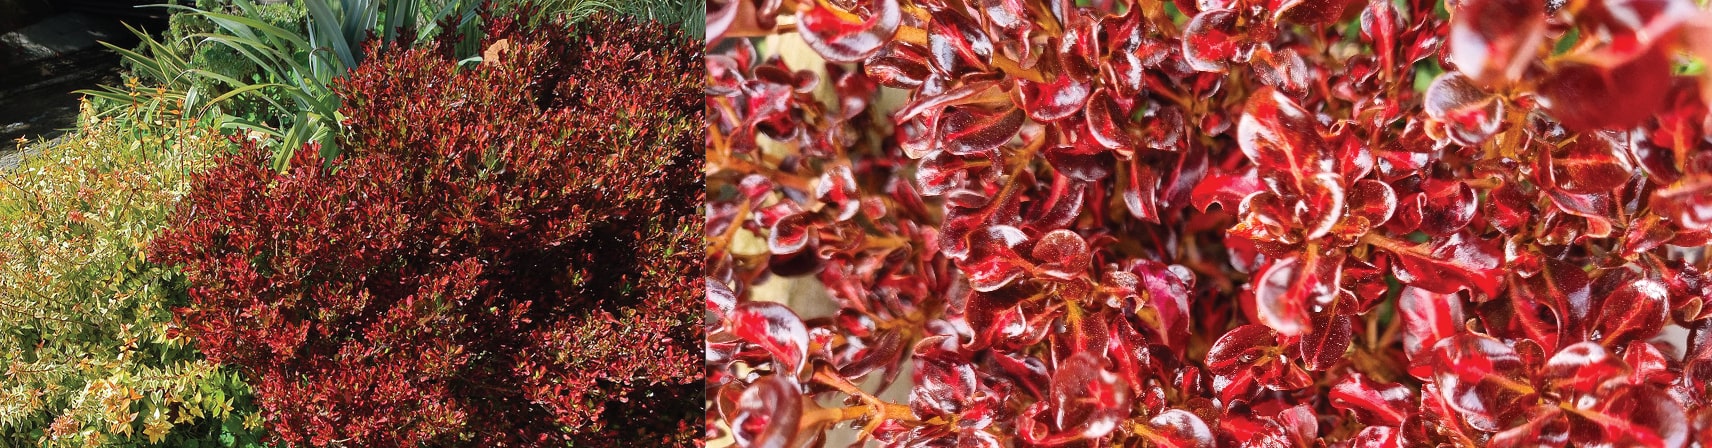
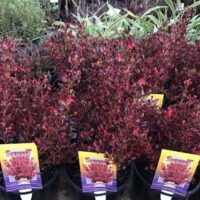
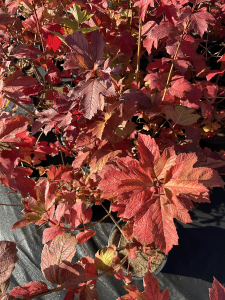
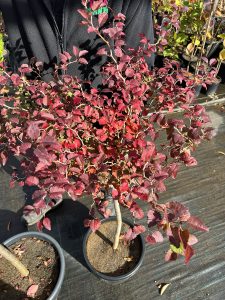 Kojo No Mai
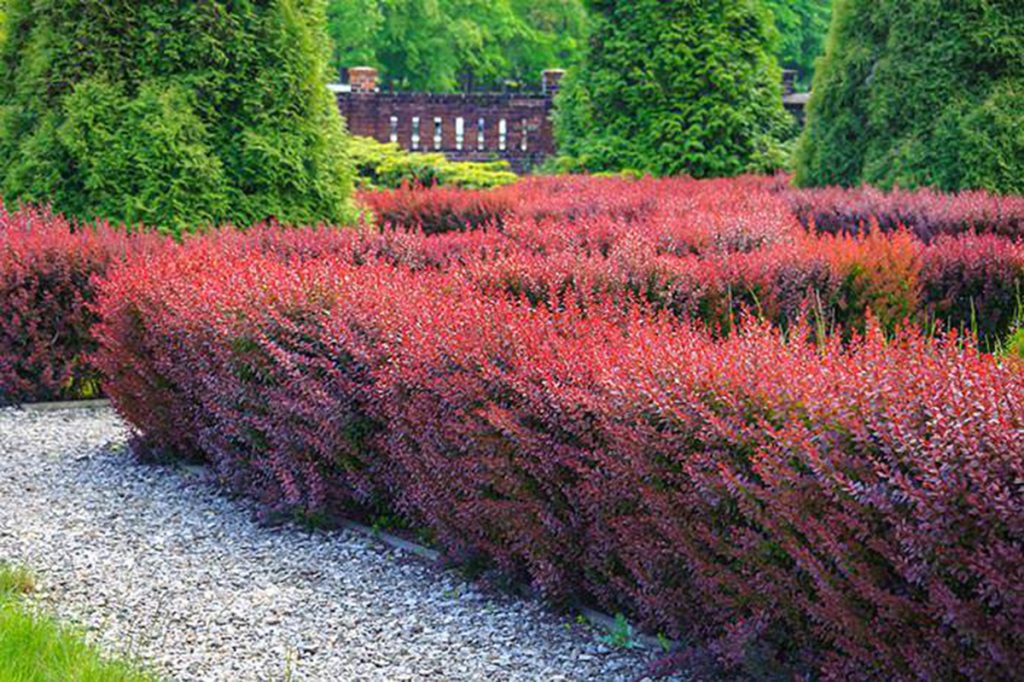
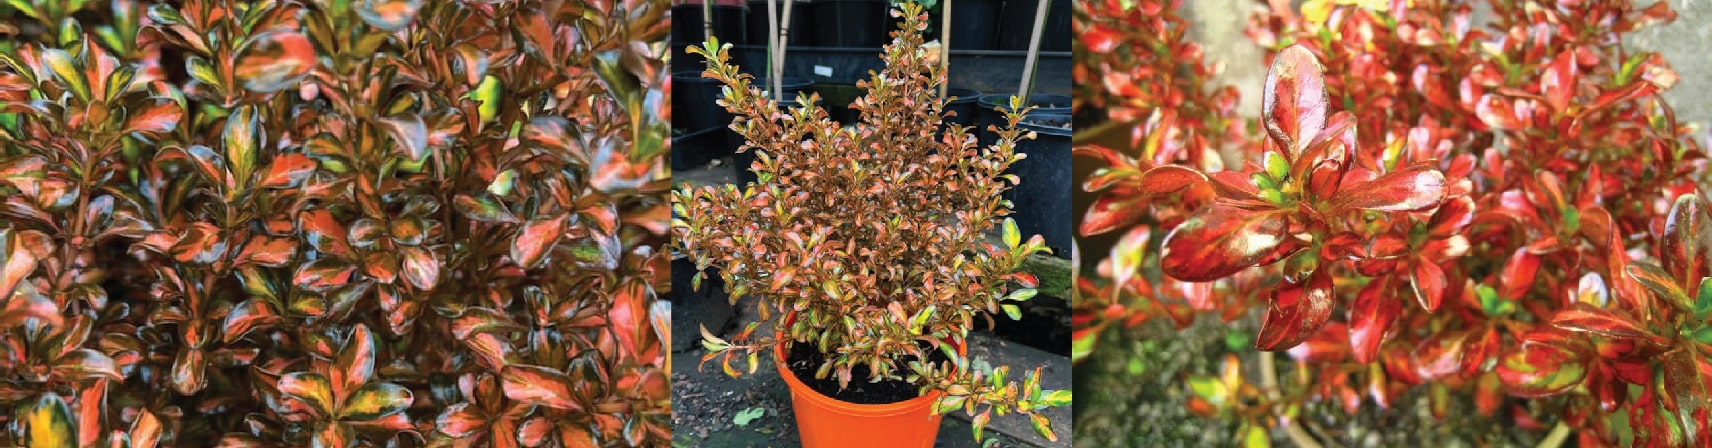
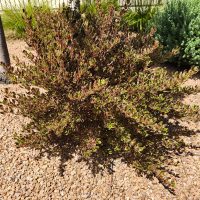
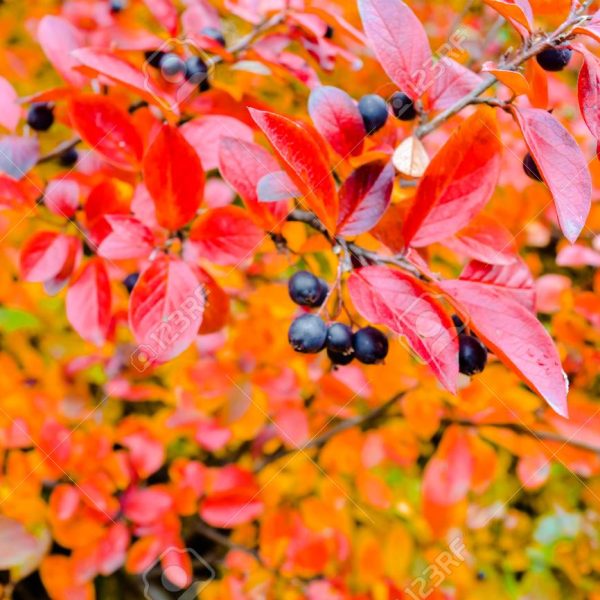
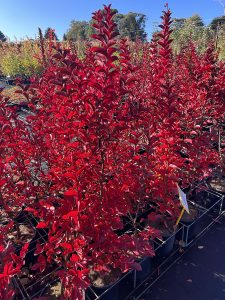
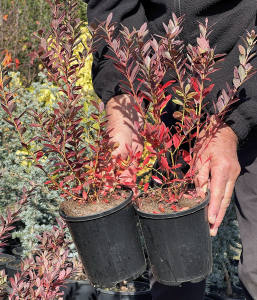
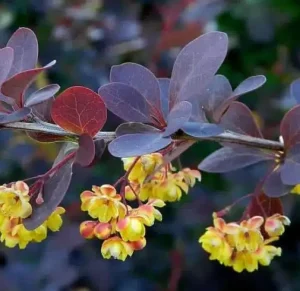 You can mass plant it for a beautiful splash of colour in your garden, or even plant different types of Berberis and have a wide array of shades. For example there is the Berberis ‘Little Favourite’ Barberry that has burgundy purple foliage which changes to a bright red and orange in autumn, with cream flowers during the springtime. I’ve never used them as a pot plant, but I don’t see why you couldn’t, as they’re a hearty and easy to grow plant.


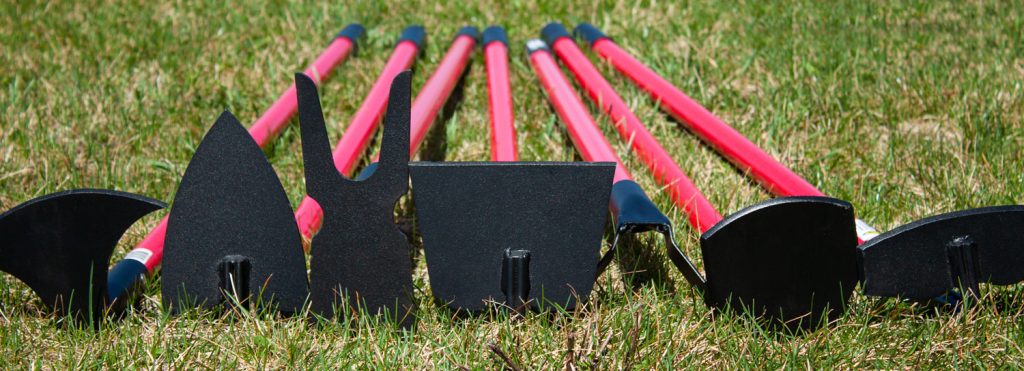


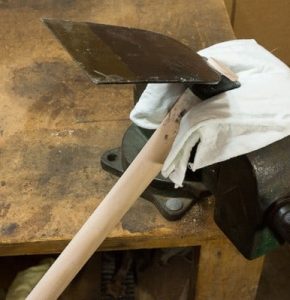 Maintaining your hoe is very important – the poor thing is being slammed and dragged through the mud, the least you can do is clean it once every while. A good trick is to always carry a piece of broken timber or bit of board with you in your pocket and when you’re catching a breather you can clean your hoe with it. When I was a kid, my dad would have me out hoeing acres of land between veggies and nursery plants and things like that. And if I was out hoeing all day, I’d take a file out with me. And when I got tired, I’d sit down, I’d file a hoe while I was sitting there.
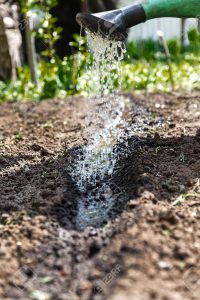

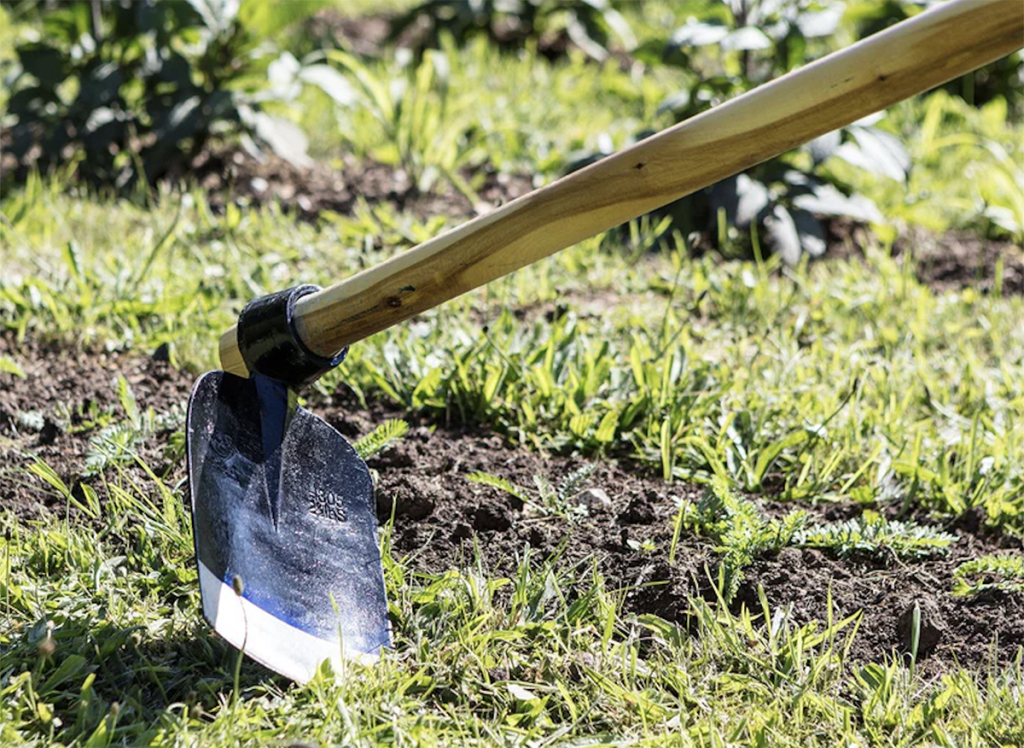
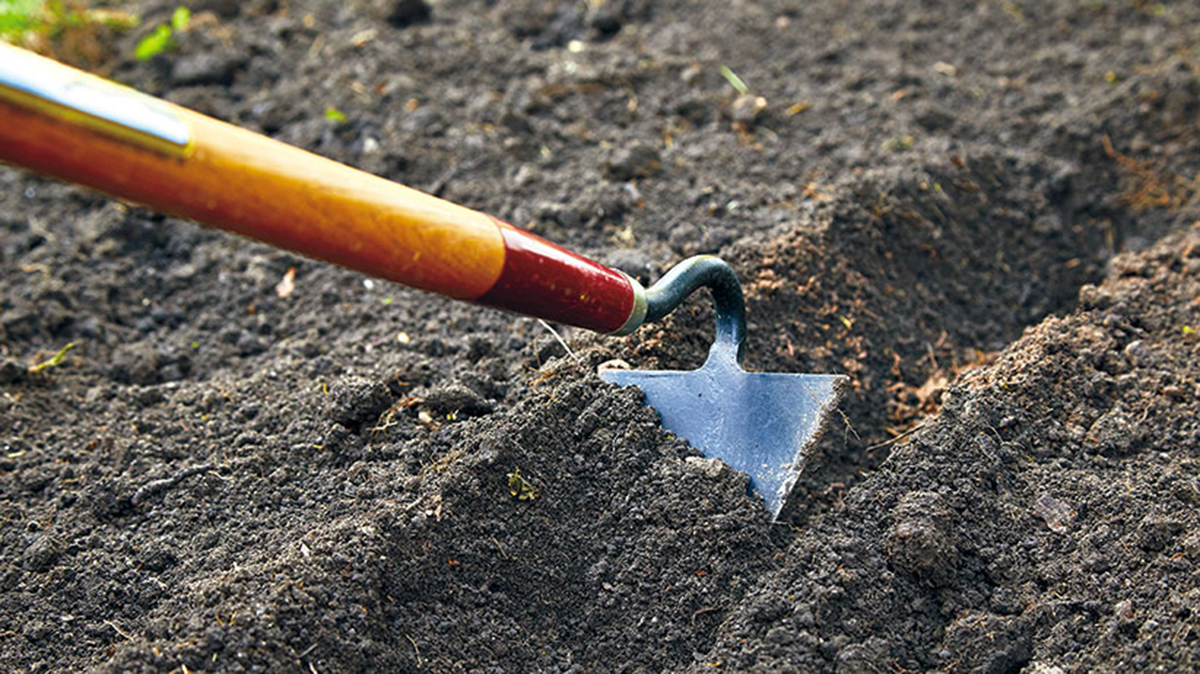
 Did it surprise you how many different types of hoes there are or are you already an expert when it comes to the gardening field? Until next time, keep your weeds wrangled and your hoes in order.

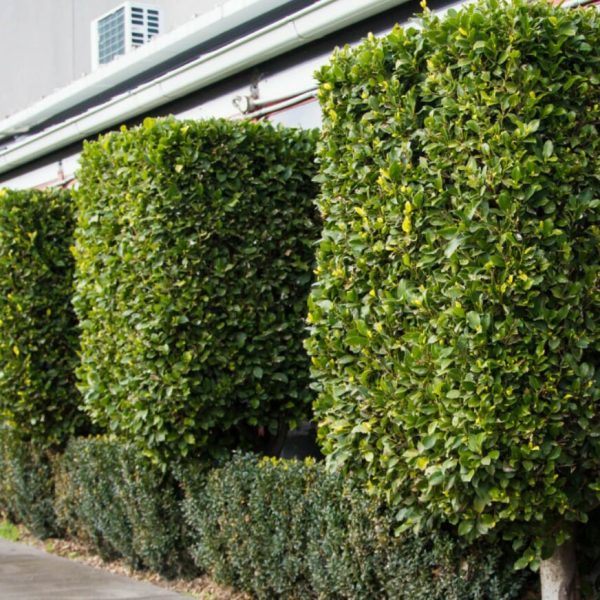
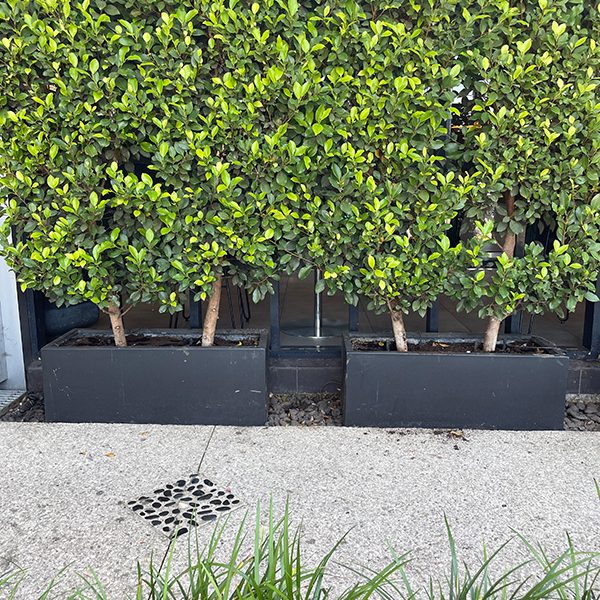
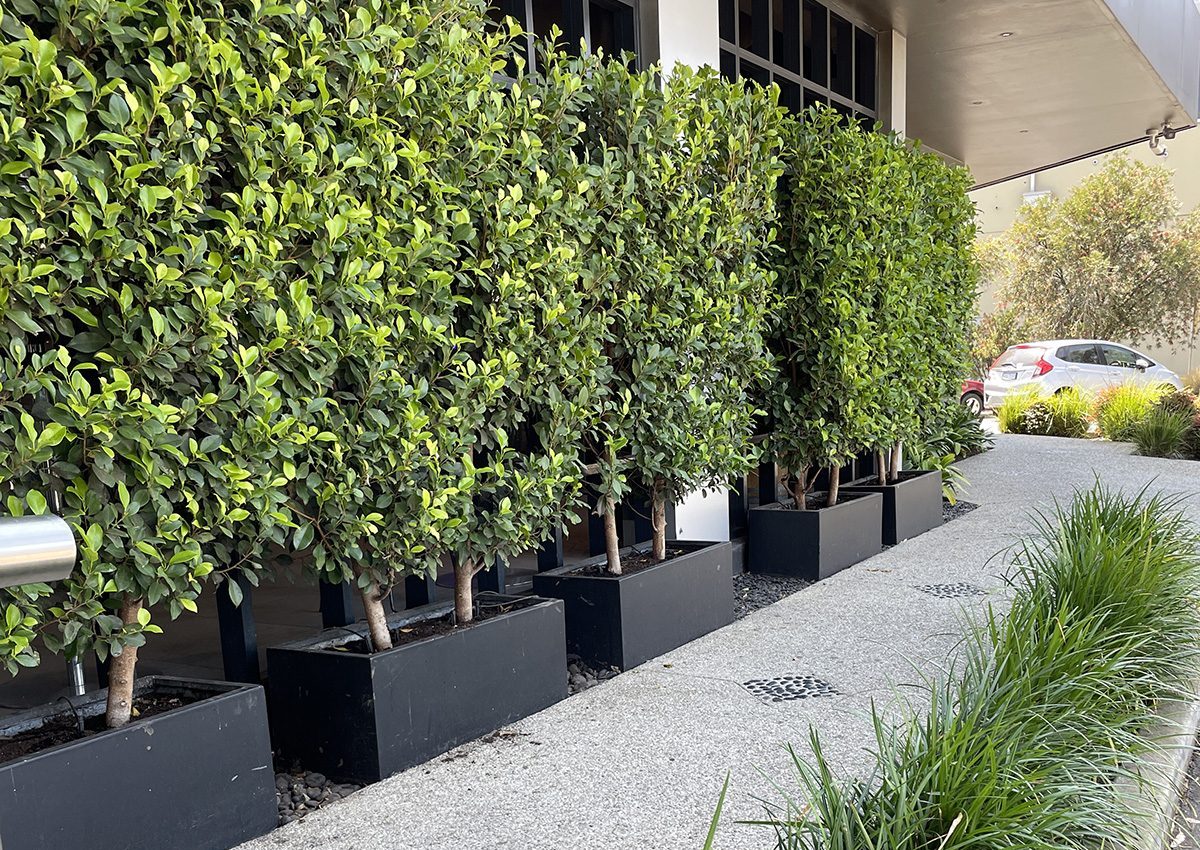


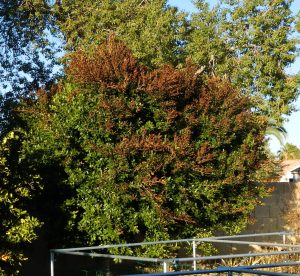 Another problem with Ficus is extreme frost can cause them to go black or brown over the top. In a few weeks after that the leaves will fall off, but then as soon as the weather warms up again, the leaves will grow back again. So basically frost can be a limitation for your Ficus but it will recover mostly. Unless it’s in a really, really frosty area and then your Ficus can actually be killed by frost.
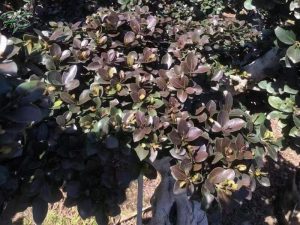 Now I was talking to a nursery person in Mildura recently and she told me that once you get through the first couple of years of frost, your Ficus will become much more frost hearty. Now she grew grew Ficus Flash and Ficus Hillii commercially in Mildura, which has very severe frost down to -4° or -5° or even -6°,. She said that the Ficus Hillii is very frost hardy compared to the Ficus Flash.